Simple iron filings can be used for a variety of interesting experiments and demonstrations. Magnetism is a mysterious concept that can be difficult for students to grasp. Magnetic fields are the forces surrounding a magnet that are identified by how they interact with adjacent magnets and other metal objects. While magnetic fields are ‘invisible’ they can be observed by sprinkling iron filings on a white paper with magnets beneath.
Earth’s Magnetic Field
June 1, 2010 by: Martin Sagendorf
We recognize heat & cold, dry & damp, light & dark, and sound & silence. However… I find it absolutely fascinating to consider that we also live within something that we can’t see, hear, touch, or taste.
We all Know:
Our planet has a giant magnet near its core and that its field extends over the whole of the Earth’s surface. But, do we ever really think about this field that passes through soil, rocks, buildings… and us? Granted, relatively speaking this ‘field’ isn’t particularly strong. In fact, it’s a rather weak field when compared to those of a horseshoe magnet or, particularly, a modern Rare Earth magnet.
A Great Demo to show Earth’s Magnetic Field:
Science Never Sucks | Milk Bottle and Egg
May 27, 2010 by: Tami O’Connor
One of my all time favorite air pressure activities is an oldie and a goodie! It involves getting an egg into a classic, hard-to-find milk bottle, like the ones  delivered to grandma’s door. Unfortunately, some students (and some teachers) still think an egg can actually be sucked into a bottle. As you probably know because the air pressure is greater outside of the bottle than inside, the better explanation is that the egg is literally pushed into the milk bottle.
Here is the explanation… The milk bottle and egg demo begins by placing two or three burning matches or a burning strip of paper into the empty bottle. Then a shelled, moistened hard-boiled egg is placed on the mouth of the bottle. The egg is clearly larger than the opening in the bottle. The air inside the bottle begins to heat up and subsequently expands. It is easy to notice the egg dancing around a bit as the air inside the bottle escapes around it.
Chladni Plates
May 21, 2010 by: Martin Sagendorf
An Odd Name: They’re named for the German physicist Ernest Chladni who popularized them in the mid-1700s. His name is pronounced: kläd’nêz.
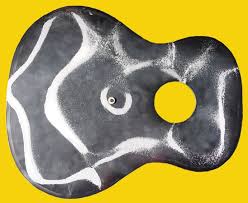
Chladni Plates are: Thin plates (sprinkled with fine particles) vibrated perpendicular to their plane.
How? – Then and Now: Long ago Chladni used a cello bow to excite the edge of a thin metal or wooden plate. Today, we can use an oscillator, amplifier, and an electro-mechanical oscillator. We have a great advantage, we can easily vary the frequency of excitation thereby providing a whole vista of experimentation.
A 17 in. x 14 in. Chladni Plate in guitar shape at 200 Hz
Making Optics Demos Easier
May 20, 2010 by: Martin Sagendorf
We’ve all likely encountered the time-consuming effort required to set up an optics demo; all the necessary components are on hand, but they don’t easily work together. The difficulty is obvious: the various components are either ‘loose’ or mounted at differing heights. Thus: wasted and frustrating time ‘shimming’ with books and pads to match the heights of the components.
The solution is simple: choose a height (above bench top) and mount every optical component at the same (optical centerline) height. But, how does one choose a height? Simple: first, determine the optical component with the highest centerline then second, build supports for all the other components – matching this centerline height.
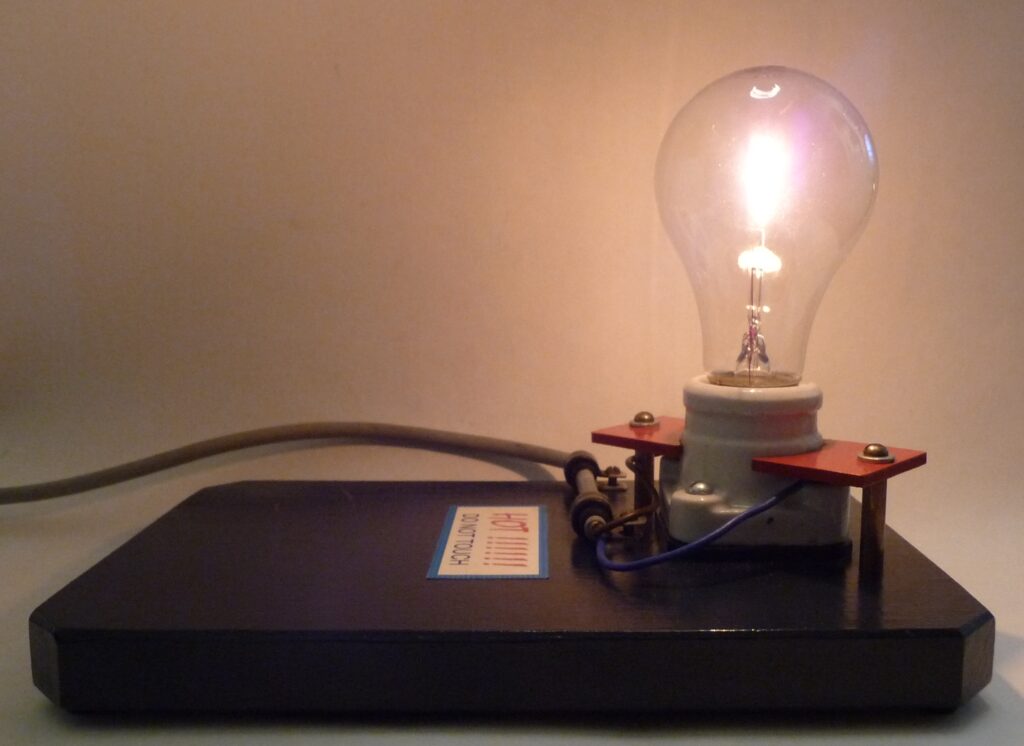
I began with a 100 Watt clear light bulb mounted upon a wooden base – the center of the filament was 4-3/4” above the bench top. I then ensured that everything else I had, or planned to incorporate in demos, could be centered at this height.
The supports shown in the following illustrations are of ¾” pine – either screwed or glued together. Where required, various combinations of rubber feet and jackscrews provide support and positioning capability. When applicable, stacks of steel washers are incorporated to add stability. Read the rest of this entry »


 Posted by Tami O'Connor
