
by Ted Beyer
The sun is, on average, about 93,000,000 miles (149,668,992 kilometers) away from us. That’s pretty darn far. In fact, if the sun went out right now, we would not know about it for about eight minutes. Not to worry, that’s not going to be a thing to fret about for quite a while—a couple of billion years last time I checked.
That huge (try 109 times as big as Earth) ball of fusion reactor up in our sky is arguably responsible for all of the energy we use on Earth. Not just solar power, but all of it. Fossil fuels (oil, coal, and natural gas) were created from ancient plant and animal matter—which all lived because of the sun.
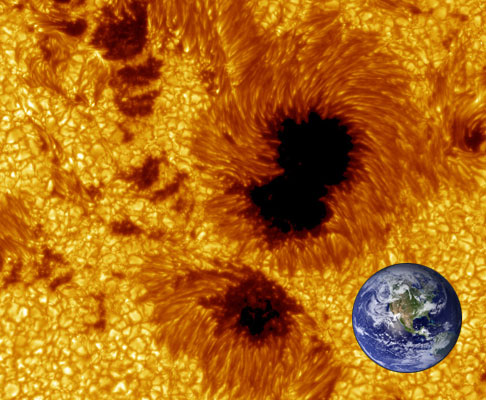
Image source: Stanford Solar Center
Hydropower is only possible because of the water cycle (best look that one up on your own, they won’t let me make these posts too long). Wind power relies on, well, wind—and that is a byproduct of the warming and cooling of the atmosphere—and that’s the sun doing that warming too. Atomic power uses heavy elements like Uranium, which was created in the hearts of suns.
I could go on and on, but I think you get the idea.
Read the rest of this entry »
 by Alex Scheeline


 Posted by Donna Giachetti
  by Nancy Foote
 During the summer, we love getting outdoors and soaking up the rays (with sunscreen, of course)! Before you head outside, take a look at our hand-picked summer science videos. If you have your own favorite summer science video ideas, please share them with us in the comments section below!