
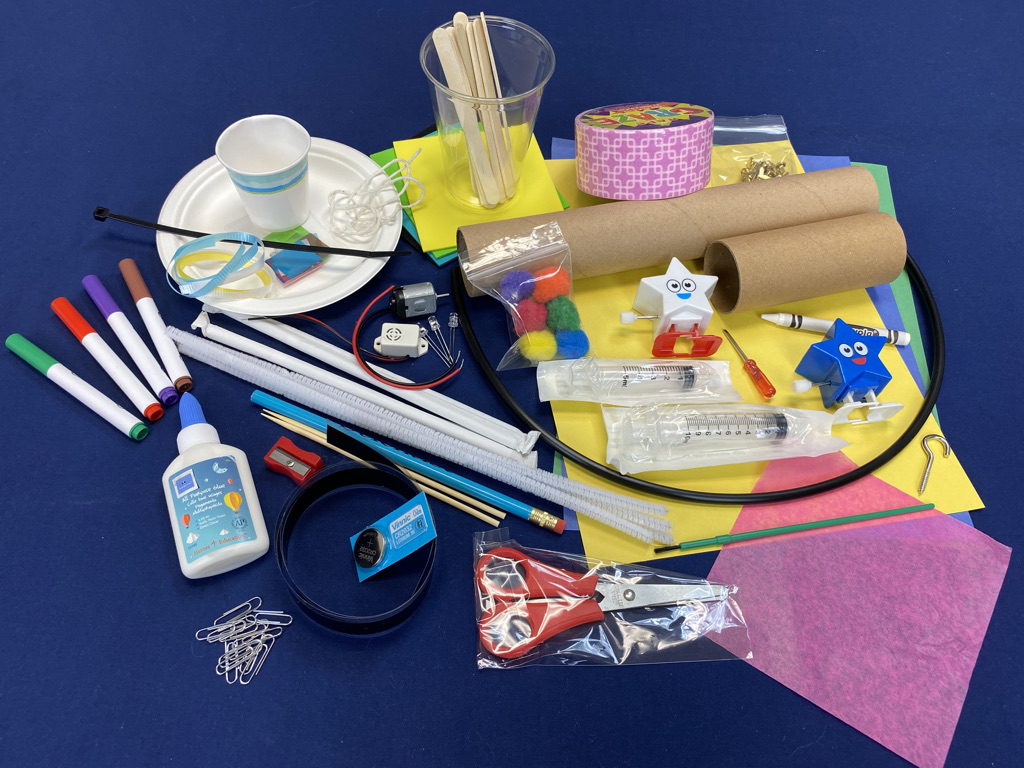
It’s been a while since my last blog post, but that’s because I (and the team here at Educational Innovations) have been super busy! In addition to our usual line-up of sizzling science products and exclusive Surprising Science kits, we have been working hard creating custom kits for many of our clients!
We take great pride in having made nearly 200,000 made-to-order kits of all shapes and sizes. Our customers range from large corporations and universities to small after-school programs and science camps. We have built kits for museum programs and individual classroom teachers too! If you can imagine it, we can build it!
As the purchaser for EI, it’s my responsibility to make sure that all the necessary items are sourced and delivered on time for all our kits. My job is to find just the right items at the best possible prices. It’s essential that our kits contain high-quality products that are also cost-effective. It’s a balancing act that requires careful consideration of multiple factors, including price, quality, and delivery time.
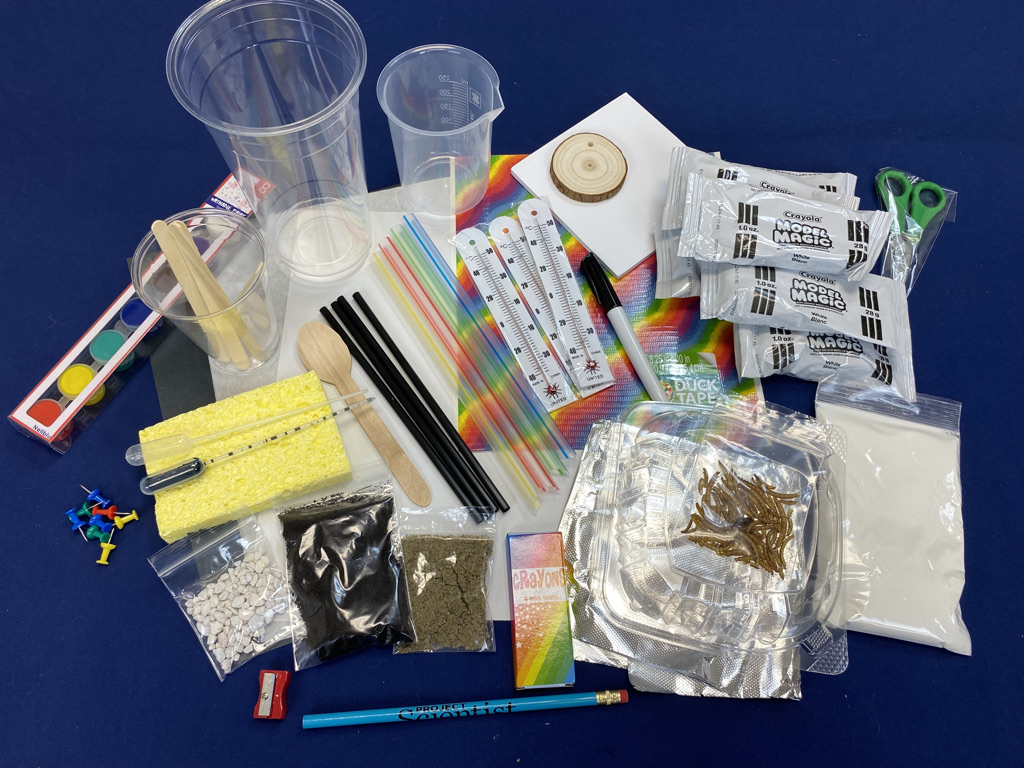
To keep costs low, we often purchase wholesale case quantities of items from various sources. This results in a stockpile of leftover items! However, we don’t want these odds and ends to go to waste, which is why we’re now offering them to you at fantastic prices!
You’ll find everything from household staples like vinegar and baking soda for your DIY volcano experiments to more exotic items like binoculars and wind up toys. Our list of odds and ends is constantly changing. So be sure to check back frequently. But remember, once an item is gone, it’s gone for good, so don’t hesitate to buy it when you see it.
How can we help you?
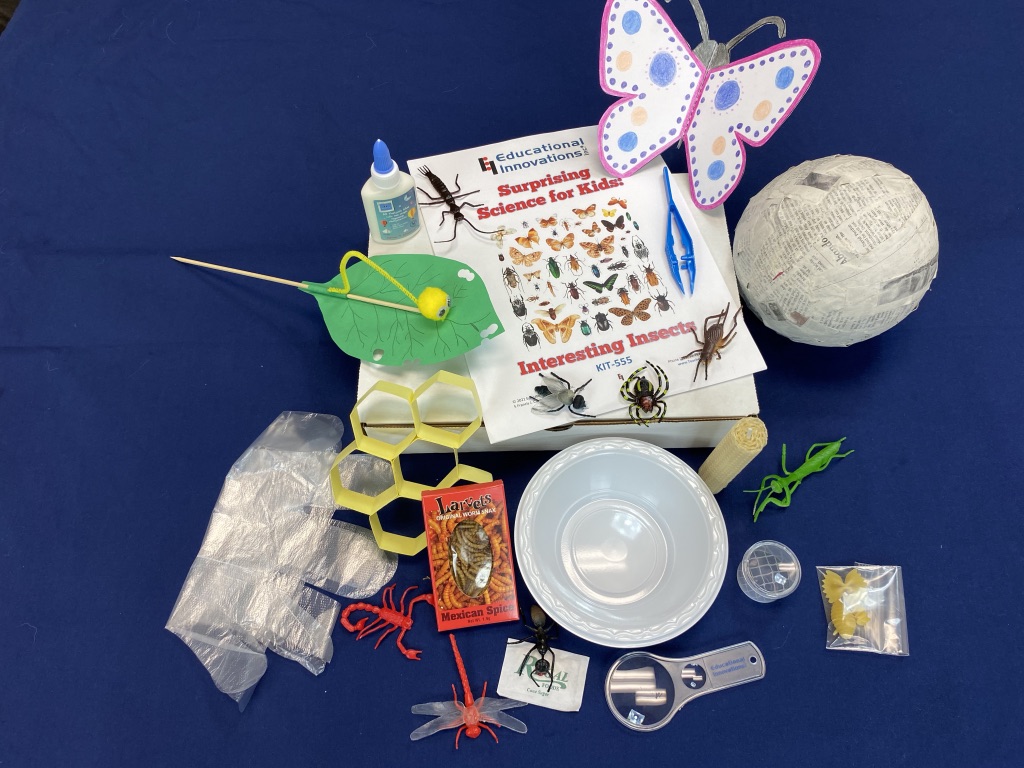
Custom kits are not all we offer at EI. We also have an extensive selection of pre-made kits. These cover a wide range of scientific concepts and can be used for various events, activities, and lessons. Our kits are designed to save the time and effort it takes to put together a comprehensive package of materials. Many of our kits also come with lessons in English or Spanish.
This makes them a great option for educators who want to focus on teaching rather than sourcing materials. However, if you have specific needs or requirements, we’re always happy to work with you to create a tailor-made kit that meets your exact specifications.
We understand that teaching science can be challenging! This is why we strive to make it as easy and accessible as possible. Our team of experts can offer guidance and support on how to teach a particular concept, and we’re always happy to answer any questions you may have. We pride ourselves on being teachers serving teachers, and we’re committed to providing high-quality, affordable, and engaging science kits for all.
In conclusion, whether you’re looking for a ready-made kit, complete with instructions or a kit with exactly what you need in it, or if you’re simply searching for that one odd item that’s hard to find, Educational Innovations is your go-to source for all your scientific needs. Our extensive selection of materials and our commitment to quality and affordability make us the perfect partner for anyone looking to teach science in a fun and engaging way.


 Posted by Tami O'Connor