Do you have something you’d like to tell us? Are you ready to share your story with your fellow teachers?
It could be a unique lesson that your students love. Or a clever anecdote about teaching that others might enjoy. Do you have a favorite science gadget or demo that gets your students revved up and ready to learn?
It’s been a while since my last blog post, but that’s because I (and the team here at Educational Innovations) have been super busy! In addition to our usual line-up of sizzling science products and exclusive Surprising Science kits, we have been working hard creating custom kits for many of our clients!
We take great pride in having made nearly 200,000 made-to-order kits of all shapes and sizes. Our customers range from large corporations and universities to small after-school programs and science camps. We have built kits for museum programs and individual classroom teachers too! If you can imagine it, we can build it!
As the purchaser for EI, it’s my responsibility to make sure that all the necessary items are sourced and delivered on time for all our kits. My job is to find just the right items at the best possible prices. It’s essential that our kits contain high-quality products that are also cost-effective. It’s a balancing act that requires careful consideration of multiple factors, including price, quality, and delivery time.
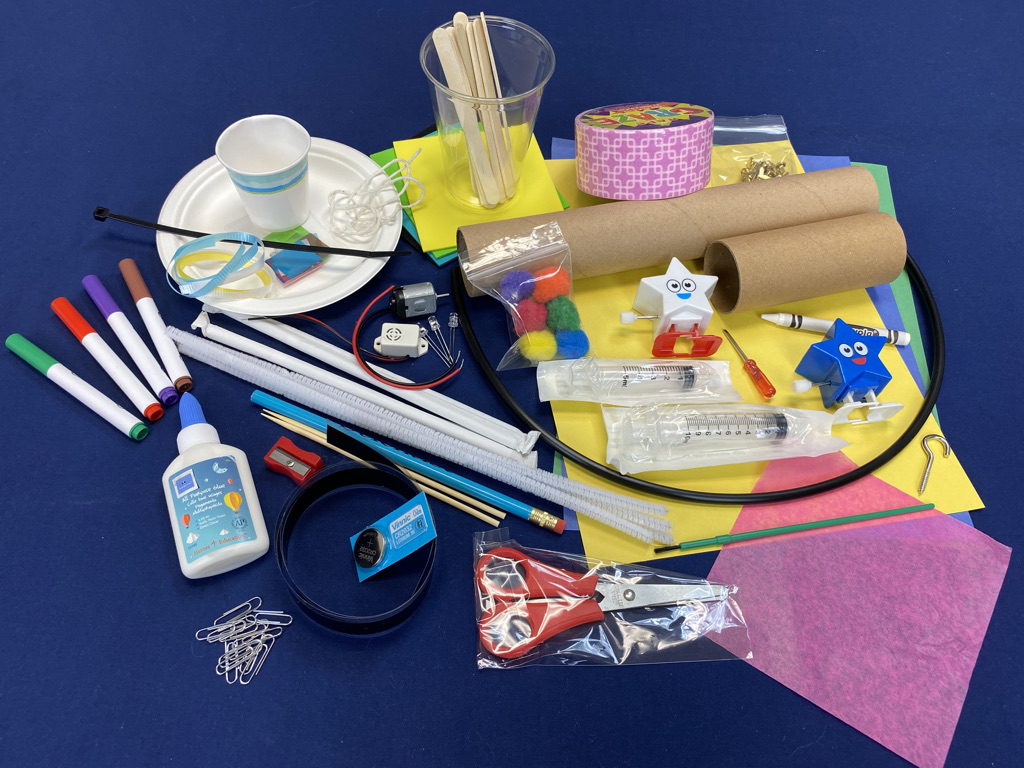
To keep costs low, we often purchase wholesale case quantities of items from various sources. This results in a stockpile of leftover items! However, we don’t want these odds and ends to go to waste, which is why we’re now offering them to you at fantastic prices!
You’ll find everything from household staples like vinegar and baking soda for your DIY volcano experiments to more exotic items like binoculars and wind up toys. Our list of odds and ends is constantly changing. So be sure to check back frequently. But remember, once an item is gone, it’s gone for good, so don’t hesitate to buy it when you see it.
How can we help you?
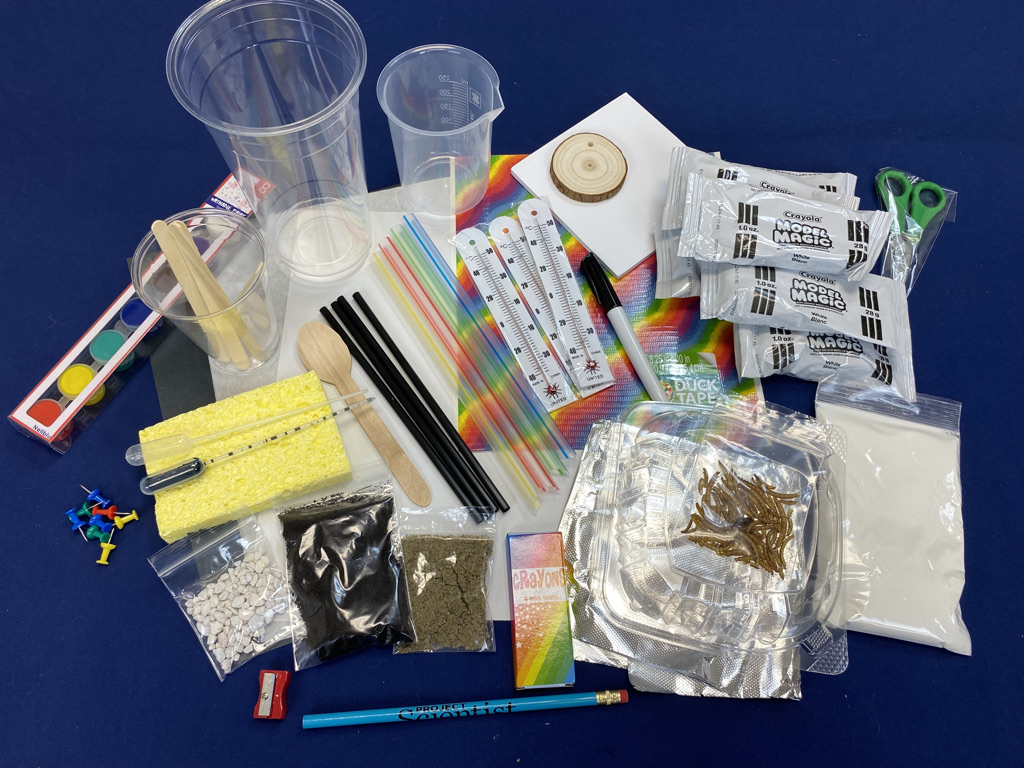
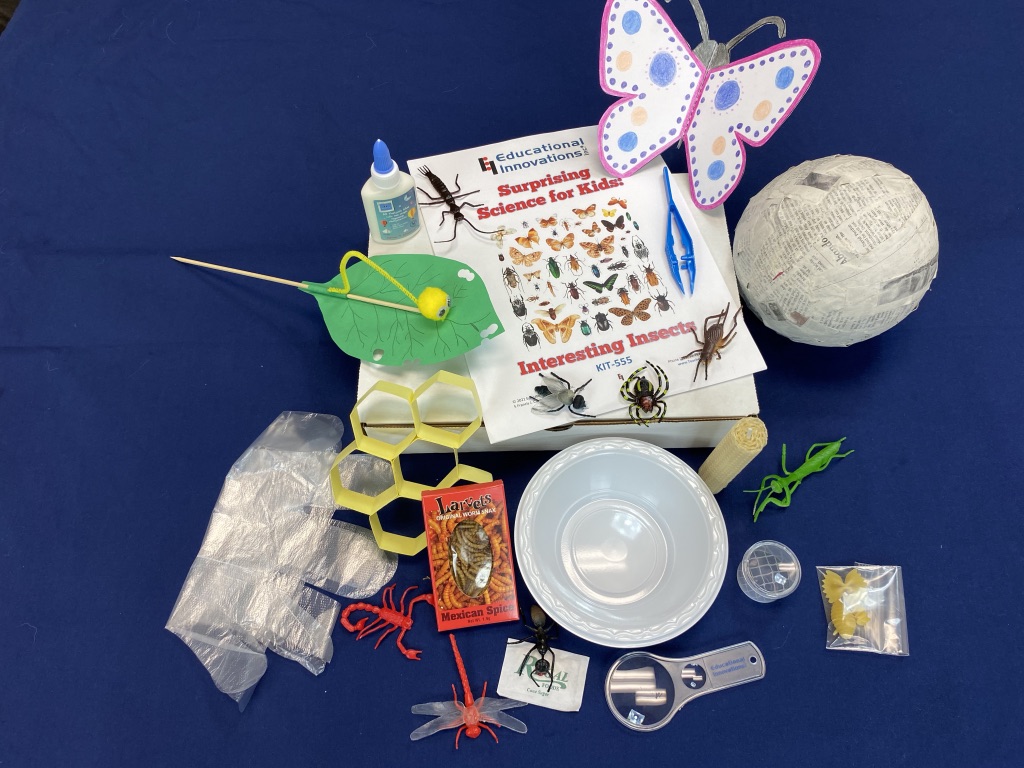
Custom kits are not all we offer at EI. We also have an extensive selection of pre-made kits. These cover a wide range of scientific concepts and can be used for various events, activities, and lessons. Our kits are designed to save the time and effort it takes to put together a comprehensive package of materials. Many of our kits also come with lessons in English or Spanish.
This makes them a great option for educators who want to focus on teaching rather than sourcing materials. However, if you have specific needs or requirements, we’re always happy to work with you to create a tailor-made kit that meets your exact specifications.
We understand that teaching science can be challenging! This is why we strive to make it as easy and accessible as possible. Our team of experts can offer guidance and support on how to teach a particular concept, and we’re always happy to answer any questions you may have. We pride ourselves on being teachers serving teachers, and we’re committed to providing high-quality, affordable, and engaging science kits for all.
In conclusion, whether you’re looking for a ready-made kit, complete with instructions or a kit with exactly what you need in it, or if you’re simply searching for that one odd item that’s hard to find, Educational Innovations is your go-to source for all your scientific needs. Our extensive selection of materials and our commitment to quality and affordability make us the perfect partner for anyone looking to teach science in a fun and engaging way.
How do I make the most out of my students’ time in school? I’m a substitute teacher!
On Friday afternoons, I am responsible for supervising a group of fifth grade students waiting for their buses to be called. We usually get about 25 minutes together, and I was often looking for ways to keep this period of time productive, fun and manageable. I am a lover of science, and I knew my students were too, so this seemed like the best direction to head in. But, I had a problem; as a substitute my days often involve moving from class to class with only a bag. This meant my science plans had to be small, flexible and accommodating for little set-up or clean-up time. So, after using a couple of Educational Innovationsscience products in my college class, I had a plan. On-the-go science with one Boi!nk.
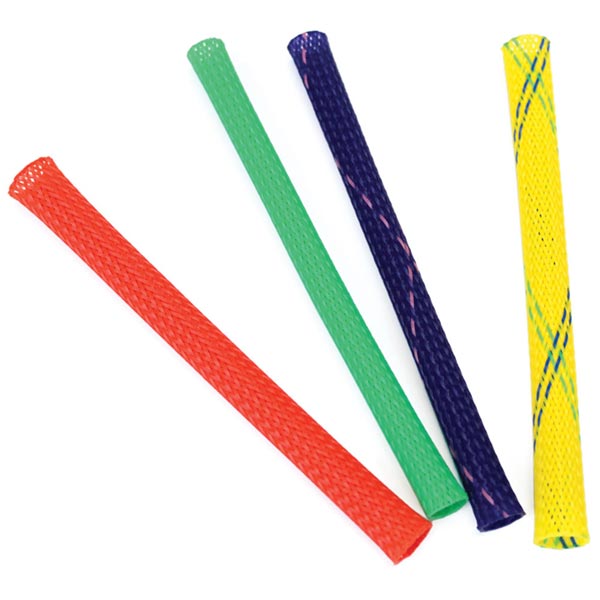
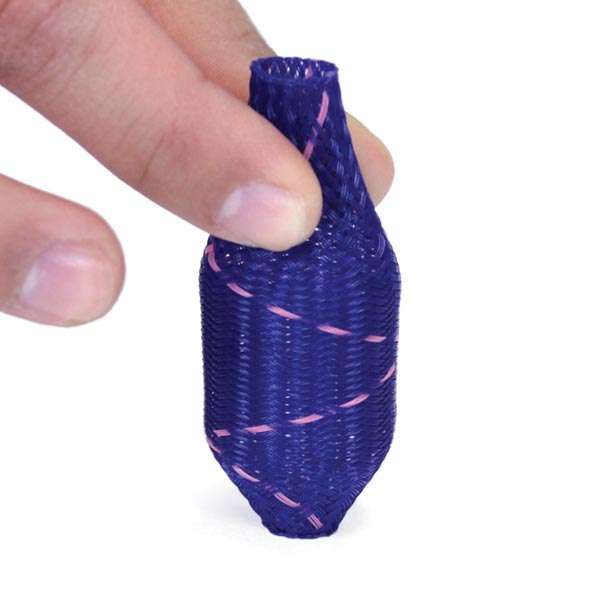
What is a Bo!nk?
Bo!nks are plastic woven tubes about five inches long. When compressed on a surface, such as a desk or your hand, and then let go, the Bo!nk shoots through the air!
How did I use it?
I started off by displaying the Bo!nk to one of my students. I demonstrated how they could use it and encouraged them to experiment with it. Students who were usually consumed with conversation began to take notice. Slowly, one by one, my students were pulling up their chairs to figure out what this thing was. They each took a turn with it and experimented with the ways they could shoot it up in the air, who could make it go the farthest, what would happen if they compressed it this much or that much, and so on. Conversations began to arise with investigative thinking and I started to fill-in some of their questions. I was able to discuss the concept of potential elastic energy with my students and relate it to the Bo!nk they were all so fascinated with. Despite it being a short activity, it was incredibly rewarding to see my students engaging with introductory levels to NGSS standards such as 4-PS3-4 & 3-5-ETS1-3 action-reaction concepts and MS-PS3-5 presenting their own experimental evidence on why their methods of compression worked the best. It is exciting to know that if I bring this Bo!nk back to their classroom, they will have the prior knowledge of potential energy to discuss energy conversion, in this case to kinetic energy. And, they had fun! My students, who often sat in small, separated groups, antsy to leave school, had gathered with me due to their own interest. What may not be traditionally seen as a science lesson became a great groundwork to build on.
Opportunity
I keep this Bo!nk in the front pocket of my backpack and have a Reaction Rocket packed for our next mini-lesson. I appreciate how something so small can make such a difference, both engaging and providing hands-on activities for my learners. In 25 minutes, and with one plastic tube, my students began to build their knowledge in energy. My on-the-go science bag is ready for the next opportunity, no matter how short or small.
As anyone in the culinary world will tell you, presentation is everything. World famous restaurants with multiple Michelin stars put as much effort into presentation as they do in preparing the food.
Science teachers could learn something from chefs. I’m not talking about adding flashy multimedia and explosions. The goal isn’t to entertain… but to take a few extra steps that will help our students stay involved. How do we do that?
A great place to start is integration. Science teachers think about science. What if we begin to think of ways to bring in social studies, reading, writing, and math to help with the presentation of our science lessons? What if a meaningful project could allow students to apply their new learning in myriad areas? Let me give you an example.
The movie Star Wars relied greatly on a mystical ability called “the Force.” You can’t see it. It’s an invisible energy that interacts with everything around it. A little green guy named Yoda uses this mystical “Force” to move objects around. Intriguing, sure, but it’s just Hollywood special effects. However, thanks to science—and Sir Isaac Newton—we know that force is a real thing in our world. In fact, we use it every day. (And we don’t even need to summon Yoda!)
Science really is everywhere – even in a strawberry patch! But I’m getting ahead of myself. Let’s start at the beginning.
I’m afraid of lunch ladies. They’re intimidating. I guess you need to be if you’re dealing with hundreds of hungry kids in a small cafeteria. As a kid, I usually kept my head down and brown-bagged it (unless it was pizza day). I didn’t want to do anything to upset the ladies who ran the lunchroom. I carried that fear with me even after I became a teacher.


 Posted by Tami O'Connor