September 13, 2019
 by Nancy Foote
Two of my favorite things are bubbles and balloons. I once had a part-time job delivering balloons. How I loved that job! I learned a lot about gas laws. I found out balloons take up less volume in cold weather and expand in hot weather. (Some of those lessons I learned the hard way.) I gained plenty of insight into people… and tips… and, of course, balloons!
Read the rest of this entry »
 Leave a Comment » |
  College level, Elementary level, engineering, High School level, Middle School level, Physics | Tagged: air pressure, hands-on activity, homeschool, parent friendly, phenomenon based learning, Physics, science |
  Permalink
 Posted by Donna Giachetti
March 23, 2018
 by Priscilla Robinson
If you teach STEM, you’ll want to learn about the OneCar system.
The performance components in the Next Generation Science Standards (NGSS) have spawned many wonderful chances to explore STEM in the classroom. The STEM curriculum is based on the idea that an interdisciplinary, applied approach is the best way to teach students these four specific disciplines. When your students are searching for solutions to real-world problems, they are more engaged, and their learning is more authentic.
Read the rest of this entry »
2 Comments | College level, Elementary level, energy, experiments, High School level, Middle School level, Physics, science fair, STEM | Tagged: air pressure, awesome science experiment, Educational Innovations, energy, fun experiments, hands-on science, homeschool, Newton's First Law, Newton's Second Law, Newton's Third Law, parent friendly, PBL, phenomenon based learning, phenomenon-based science, Physics, rockets, science, science fair project, STEM, variables | Permalink
Posted by Donna Giachetti
December 16, 2016
by Nancy Foote
A curiosity table. That’s what I call it. Whenever my students have a free minute (which rarely happens), I encourage them to investigate the materials on the curiosity table in our classroom.
Today I added something new—an Atmospheric Mat.
Read the rest of this entry »
Leave a Comment » | College level, Elementary level, experiments, High School level, Middle School level, Physics | Tagged: air pressure, Educational Innovations, experiments, fun experiments, hands-on activity, homeschool, parent friendly, PBL, phenomenon based learning, phenomenon-based science, Physics, physics demonstration apparatus, science, STEM, variables | Permalink
Posted by Donna Giachetti
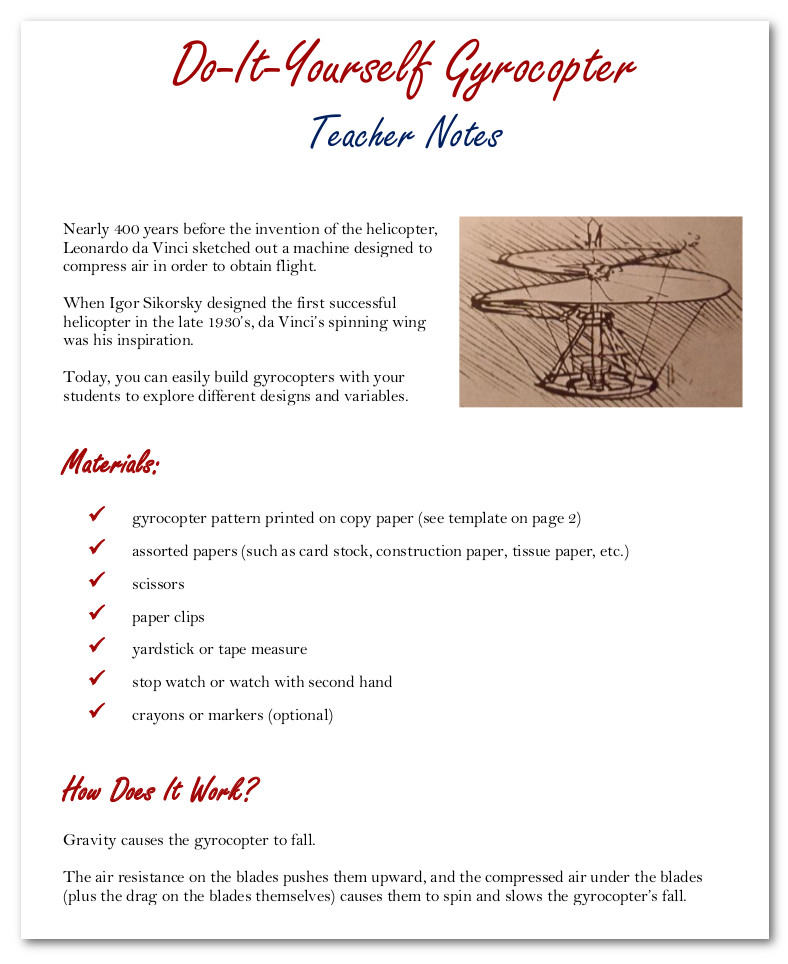
February 23, 2016
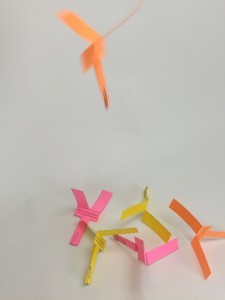 Educational Innovations’ President and CEO, Tami O’Connor, spent many years as a science teacher in elementary and middle school classrooms conducting air pressure science activities.
.
She was also a professional airline pilot, so you can be sure she knows a few things about air pressure!
One of her favorite air pressure activities at school was the Do-It-Yourself Gyrocopter. You can download her lesson (complete with template) by clicking on the image below.
Leave a Comment » | College level, Earth Science, Elementary level, experiments, High School level, Middle School level | Tagged: air pressure, Educational Innovations, fun experiments, hands-on activity, hands-on science, homeschool, parent friendly, PBL, phenomenon based learning, phenomenon-based science | Permalink
Posted by Donna Giachetti
February 23, 2016
 The sky (and beyond) is the limit if you’re looking to start a class discussion on air pressure! Practically anything goes—from balloons to spacesuits, smoke rings to clouds in a bottle.
We hope you have as much fun using these air pressure discussion starters as we’ve had gathering them.
Read the rest of this entry »
Leave a Comment » | College level, Earth Science, Elementary level, experiments, High School level, Middle School level | Tagged: air pressure, DIY, Educational Innovations, fun experiments, hands-on activity, hands-on science, homeschool, parent friendly, PBL, phenomenon based learning, phenomenon-based science | Permalink
Posted by Donna Giachetti