 By: Martin Sagendorf
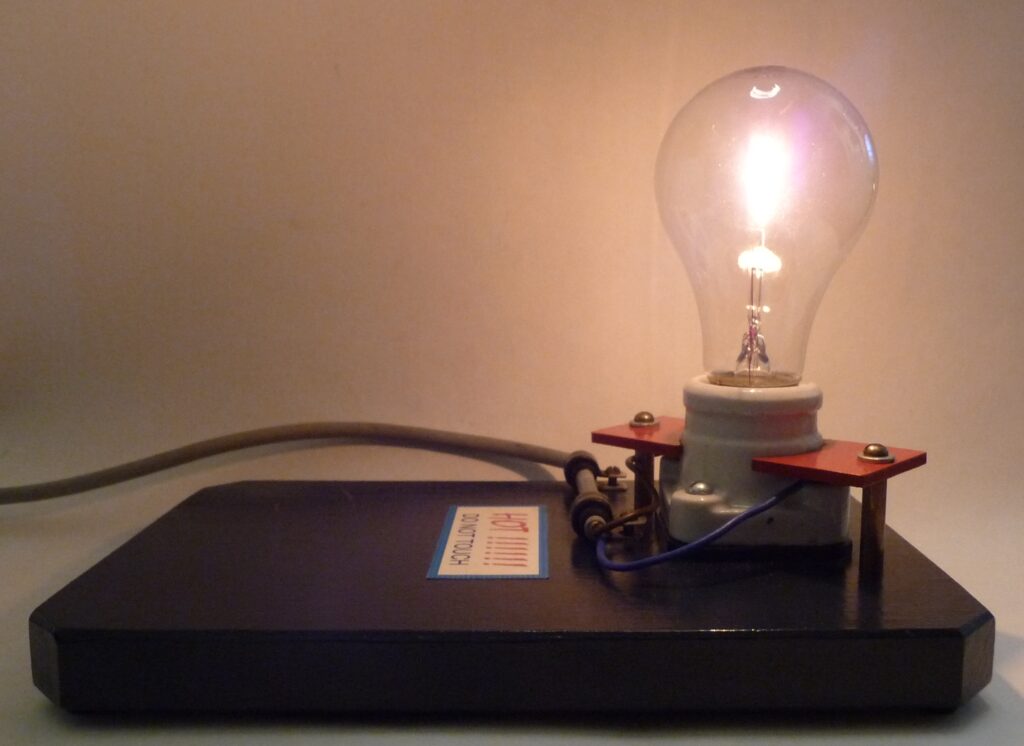
We see hundreds of colors, but the colors we think we see are often not what we’re actually seeing – i.e. many of these colors are combinations of other colors. ‘Light’s Story’ is fascinating and full of surprises. It begins with knowing that radiating and re-radiating substances emit light. The light colors emitted are functions of a number of factors: the substance, or the incident light, or the temperature of an incandescent source.
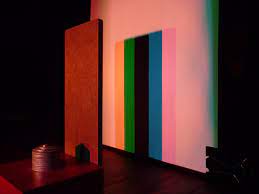
All the textbooks explain ‘additive’ and ‘subtractive’ colors. Explanations are fine, but actual experience makes both an immediate impression and a very lasting learning experience. For example, here’s how only RED, GREEN, and BLUE light colors combine to produce two new unexpected colors.
But we’re getting ahead of ourselves… let’s start with something we’re really familiar with: pigment colors. We all know that mixing different paint (pigment) colors will produce new colors. For example, when we mix red and green pigments we ‘see’ brown. And, as everyone knows, mixing a wide range of pigment colors will produce the ‘color’ we see as black. But, odd things happen when we mix two light colors. We don’t get the same color that we obtained when we mixed pigments.
When we mix red and green light colors we don’t ‘see’ brown: we see yellow! How can this be? Then… even though it does appear even more counter-intuitive, the mixing of all light colors produces the color we ‘see’ as white (but has NO color? – white… or does it?). Read the rest of this entry »


 Posted by Tami O'Connor