Make Your Own Clock Faces


Marty Sagendorfby: Martin Sagendorf

A Definition:

Clocks measure time – it can be a continuous measure of events passing or the measure of the interval between two events.

Of Hours:

After years of evolution, our modern clocks now divide the day into 24 equal length hours.  And, as we know, there are two systems in use today: Americans use the “double-twelve” system while the rest of the world uses the 24 hour system.

As An Aside:

The word “hour’ comes from the Latin and Greek words meaning season, or time of day.  A “minute” from the medieval Latin pars minuta prima (first minute or small part), originally described the one-sixtieth of a unit in the Babylonian system of sexagesimal fractions.  And “second” from partes minutae secundae, was a further subdivision on the base of sixty – i.e. “a second minute”.  (ref. Pg. 42 The Discoverers by Daniel J. Boorstin)

The “Double-Twelve” Clock Face:

Has 12 at the top – probably because at noon the sun is at its highest point in the sky.

But…

We can make a clock with 12 o’clock anywhere we wish and the clock will still work just fine. Read the rest of this entry »


Gro-Beast Alligators


Jill BrownBy : Jill Brown

Each year I purchase the Gro-Beast Alligators from Educational Innovations for my Fourth Grade class.  These growing alligators start at about three inches long and grow to over a foot long when placed in water!  From this one item, I have developed lesson plans that incorporate Math, Science, Reading, Social Studies, Writing, Technology, and Language Arts!Gro-Beast Alligator

Observation is the first action taken by learners to acquire new information about an organism; therefore, the first thing my students do is observe their polymer alligator.  The students in the picture below are in the process of measuring the length, weight, circumference, and area of their polymer alligators. Students in my class also trace their alligators on graph paper then they calculate the area of each and eventually compare the area of their small (dehydrated) alligator to that of their fully grown alligator. (Math & Writing & Language).  These measurements are compiled into a line graph for each student’s crocodile which aids students in making predictions about the rate of future growth of their growing reptile.  Read the rest of this entry »


How to Make a Rocket (Scientist)


Tami O'Connor, Educational Innovationsby:  Tami O’Connor

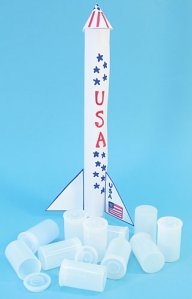
A few months ago I had occasion to conduct two hands-on workshops for elementary and middle school teachers at the NSTA National Convention in San Francisco on behalf of Educational Innovations.  One presentation focused on film canister rockets.  This is a tried-and-true way to teach Newtown’s First and Third Laws of Motion and also brings to light concepts such as the four forces of flight; thrust, drag, weight, and lift.  It also reinforces instruction on 3-D shapes and 2-D plane figures such as circles, cones, cylinders, rectangles, and triangles.

How to Make a Rocket Scientist - Educational Innovations BlogI presented the lesson to the teachers in much the same way I would to my students.  The first thing we did was to brainstorm the features all rockets have.  After a bit of discussion it was agreed that they all have a nose cone, a cylindrical body, fins, and an engine.  I then handed out a paper template imprinted with the pattern of a nose cone and fins, a regular 8½ x 11 sheet of white paper, a piece of goldenrod paper, and a white translucent film canister.  Also required are scissors, tape, ¼ piece of an Alka Seltzer tablet, and paper towels.

The only canister that works with this rocket is the type that has the lid that fits snugly inside the canister.  The canisters that have a lid that wraps around the outside rim, however, will not allow enough pressure to build up inside the chamber.

How to Make a Rocket

The first step in building a film canister rocket is to construct the body of the rocket.  The easiest way is to curl the white 8 ½ x 11 paper into a cylindrical shape using the film canister (without the top) as a guide.  The paper can be rolled around the film canister and then taped along the edges.  The easiest way to recover the film canister is to blow into one end of the rolled cylinder, forcing the canister out the other end. Read the rest of this entry »


Science Corner Investigation: Mirrors


Gordon Goreby: Gordon Gore

Mirror Investigation #1

You Need

2 small, flat plastic mirrors, with suitable vertical supports, 1 piece of plain white paper, letter size

What to Do

1. Hold the mirror vertically. Look into the mirror. Touch your right ear. Watch what the good-looking person in the mirror does. Which ear does he or she seem to touch?

2. Write your first name on a piece of paper. Look at your writing in the mirror. What is ‘unusual’ about what you see? Write your name so that it looks ‘right’ in the mirror.

ambulance3. Notice how AMBULANCE is written.  Why is it always written this way on the front of the emergency vehicle? Read the rest of this entry »


Bubble Basics


by: Michelle Bertke and Melanie Bunda

Bubbles are always a fun and interesting activity for kids of all ages.  However, bubbles are not only fun, they are also an excellent teaching tool for some abstract concepts such as air density, dissolved gasses, and air pressure.  Below is a collection of bubbly activities that highlight each of these topics. Educational Innovations offers a full line of wonderful bubble products!

Gravity Defying Bubbles

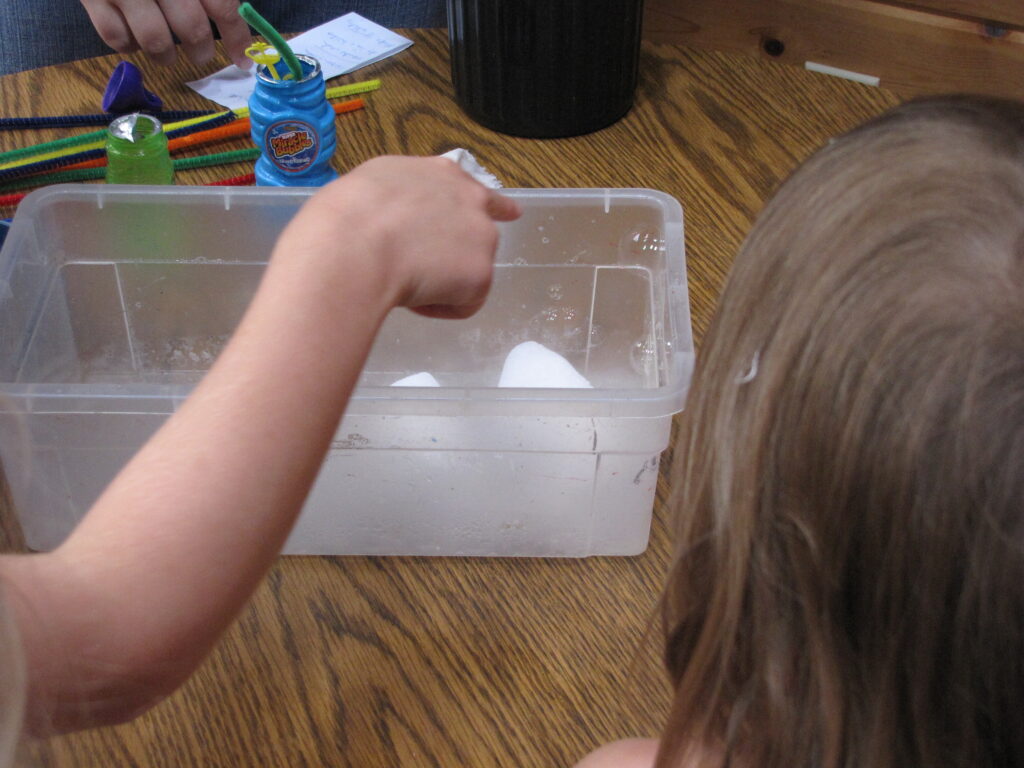
Different gasses have different densities.  The air around us is mostly nitrogen (N2) and oxygen (O2), which are both lighter than carbon dioxide (CO2).  When a heavy gas, such as CO2 is placed in a tank, it will sink to the bottom without mixing.  This can be achieved by placing a few blocks of dry ice in a large fish tank or clear plastic bin covered loosely with a lid and allowing them to sublime.  This will take several minutes. Always use caution when handling dry ice by using proper gloves and safety goggles.

Once full, blow bubbles over the surface of the tank.  When the bubbles reach the interface of the two gasses, they will float.  If you fill the tank with CO2 unnoticed, have the kids speculate as to why they think the bubbles didn’t reach the bottom, and what might be in the tank.

An alternative is to fill a balloon with CO2 by filling it with baking soda (or an alka seltzer tablet) and placing it over the opening of a bottle filled with vinegar (or water).  Lift the balloon so the contents spill into the bottle and react with the liquid, allow the balloon to fill from the reaction, twist and remove.  Use it to blow bubbles.  Compare these bubbles to those blown with regular air (use a fan, not your breath for best results).  Have students compare the two bubbles.  Which one falls faster? Which one floats longer? Read the rest of this entry »