Energize Your Class With The Energy Ball


Janice Van Cleave

by: Janice VanCleave

As a teacher, I enjoyed having people visit my class. It brought out the “ham” in me and I did and said things that even surprised me.  Rubbing a balloon on my hair and making my hair stand on ends was not unusual, but climbing on top of my desk sticking the charged balloon to the ceiling was a bit over the top.

What I disliked was the unscheduled visitor with an evaluation sheet in hand. But, I was always prepared. In fact, I had a box filled with materials for fun engaging activities. It was my “Emergency Experiment  Box.” When the evaluator unexpectedly arrived, out came the box and the show began.

My teaching abilities were being evaluated during an unexpected visit,  so I was prepared to show all my best qualities. I suggest you have an Emergency Experiment Box, and I do recommend including the Energy Ball.

Whatever you put in your box, make sure you know as much about the experiment as possible. The Energy Ball is great for teaching the scientific method. Too often kids memorize the steps of the scientific method, but do not use them on a daily bases. The scientific method is a set of problem solving tools—but every problem does not require using every instrument in the tool box.

I regress, let me get back to using the Energy Ball to fire up your students with or without unexpected guests.

Read the rest of this entry »


The Science of Sound Waves


by:  Michelle Bertke

Sound can be a difficult concept to portray because the sound waves cannot be seen or touched.  Luckily, there are several at home experiments that demonstrate the properties of sound waves.

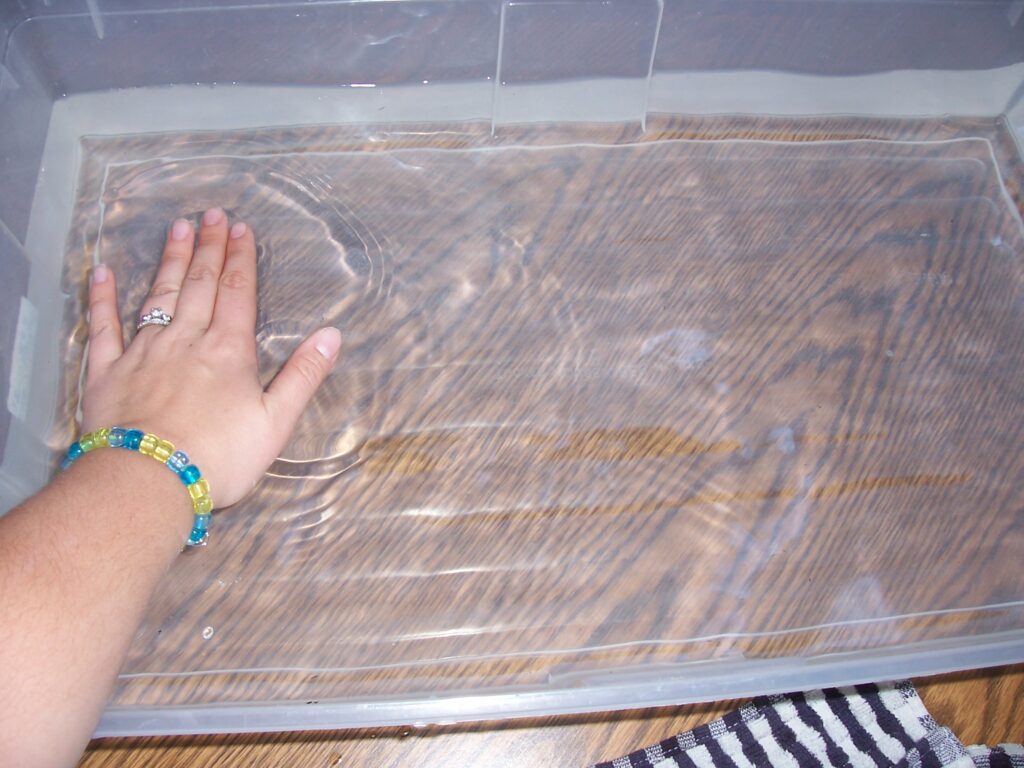
Water tank to show ‘Sound Waves’

You can use a fish tank half filled with water to give a visual demonstration The Science of Sound Waves - Educational Innovations Blogof ‘sound waves’.  Water is a perfect medium to show the propagation of waves. This demonstrates how sound waves travel though the air.  There are two ways to display this activity.  One way is to simply press your hands onto the top of the water and allow the waves to be made by the pressure of your hand.  This allows students to see how waves travel though a medium.  You can also use this to point out the aspects of a wave such as frequency and amplitude.  Another way to show waves is to place a speaker next to the tank and allow the sound to produce the waves.  This can show that sound is a form of pressure just like your hand. Read the rest of this entry »


What is a Radiometer?


Tami O'Connor, Educational Innovationsby: Tami O’Connor – Taken From Litetronics

The radiometer is a light bulb-shaped device containing an object that looks like a weather vane (wings arranged in a circle like spokes of a wheel).  Developed to measure the intensity of radiant energy, or heat, the radiometer will:

  1. Help you understand the principles of energy conversion.
  2. Show how heat and mechanical energy are products of energy conversion.

Read the rest of this entry »


Coupled Pendulums with Video


Marty Sagendorfby:  Martin Sagendorf

One Pendulum…

Is interesting, but…

Two Pendulums…

Are much more interesting.

 But only if they are coupled pendulums.

Read the rest of this entry »


How to Make a Rocket (Scientist)


Tami O'Connor, Educational Innovationsby:  Tami O’Connor

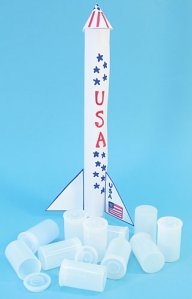
A few months ago I had occasion to conduct two hands-on workshops for elementary and middle school teachers at the NSTA National Convention in San Francisco on behalf of Educational Innovations.  One presentation focused on film canister rockets.  This is a tried-and-true way to teach Newtown’s First and Third Laws of Motion and also brings to light concepts such as the four forces of flight; thrust, drag, weight, and lift.  It also reinforces instruction on 3-D shapes and 2-D plane figures such as circles, cones, cylinders, rectangles, and triangles.

How to Make a Rocket Scientist - Educational Innovations BlogI presented the lesson to the teachers in much the same way I would to my students.  The first thing we did was to brainstorm the features all rockets have.  After a bit of discussion it was agreed that they all have a nose cone, a cylindrical body, fins, and an engine.  I then handed out a paper template imprinted with the pattern of a nose cone and fins, a regular 8½ x 11 sheet of white paper, a piece of goldenrod paper, and a white translucent film canister.  Also required are scissors, tape, ¼ piece of an Alka Seltzer tablet, and paper towels.

The only canister that works with this rocket is the type that has the lid that fits snugly inside the canister.  The canisters that have a lid that wraps around the outside rim, however, will not allow enough pressure to build up inside the chamber.

How to Make a Rocket

The first step in building a film canister rocket is to construct the body of the rocket.  The easiest way is to curl the white 8 ½ x 11 paper into a cylindrical shape using the film canister (without the top) as a guide.  The paper can be rolled around the film canister and then taped along the edges.  The easiest way to recover the film canister is to blow into one end of the rolled cylinder, forcing the canister out the other end. Read the rest of this entry »