 By Priscilla Robinson
Snowflakes! They arrive in flurries, storms and blizzards, not to mention “Winter Bomb Cyclones!” I’ve always thought the science behind snowflakes is amazing.
A snowflake begins when a tiny dust or pollen particle comes into contact with water vapor high up in Earth’s atmosphere. The water vapor coats the tiny particle and then freezes into a tiny crystal of ice. This tiny crystal will be the “seed” from which a snowflake will grow. The process is called crystallization.
Technically, this newly formed little ice crystal is a mineral because it’s a naturally occurring solid with a definite chemical composition and an ordered internal structure. But we call it a snowflake. Because the snowflake is heavier than the surrounding air, gravity kicks in and the snowflake begins falling to Earth.
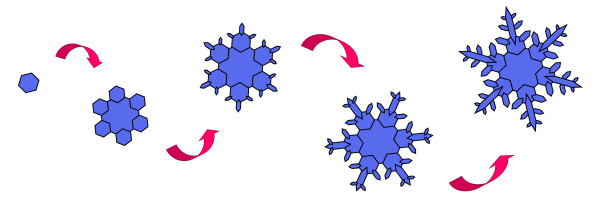
Photo credit: www.snowcrystals.com
As it falls through clouds and humid air, more water vapor freezes onto the surface of the tiny crystal. This freezing process is very systematic and takes about 20 minutes. The water molecules of the vapor arrange themselves so that the hexagonal crystal structure of ice is repeated. The snowflake grows larger and larger as it falls. As the crystal grows, the branches come together and trap small quantities of air. Many variables affect the way these crystal branches develop. That’s why we can accurately say that every snowflake is unique.
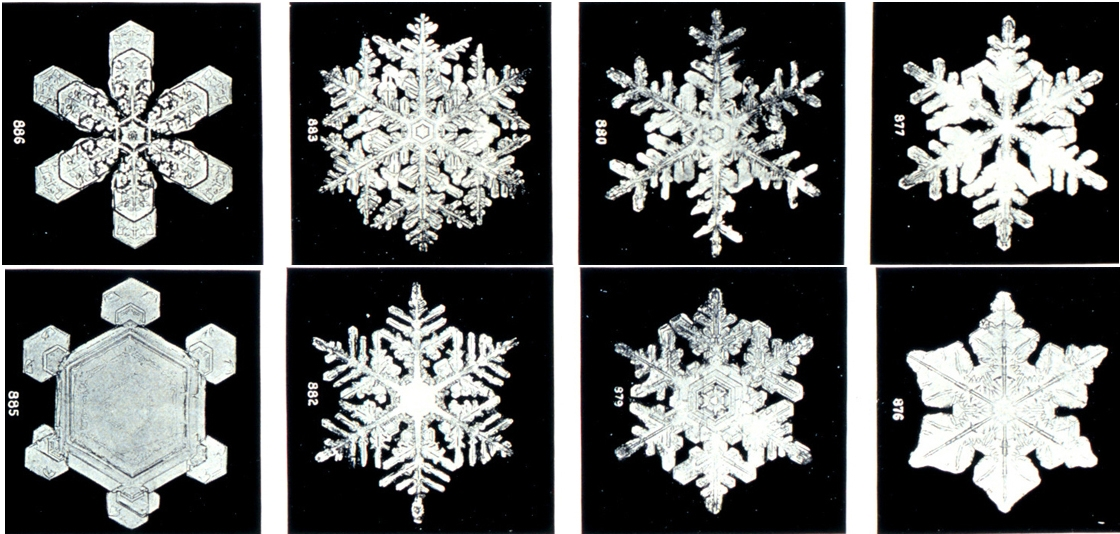
Photo credit: NOAA.gov
Are you curious about the magical symmetry of snowflakes?
The molecules of water that form each tiny ice crystal naturally arrange themselves into a hexagonal (six-sided) structure. This is due to the Hydrogen and Oxygen arrangement of the water molecule. The result will be a snowflake with six sides or dendrites. The six branches are identical. Scientists have come up with terms such as rimes, ribs, ridges, anchors, spikes grooves and darts to describe the various crystal formations that attach to that original hexagonal seed crystal.
Teach Snowflakes—and Ice—in Class
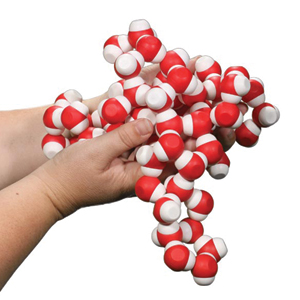
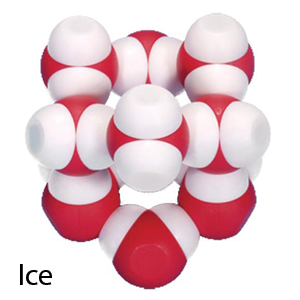
Educational Innovations has dynamic and easy-to-use critical thinking chemistry kits that allow students to build their own models of water and the geometric structures that occur with ice crystals. One of my favorites is the Magnetic Water Molecule Kit. Embedded magnets in the molecules accurately reflect positive and negative charges, allowing your students to feel the various strengths of hydrogen, covalent, and ionic bonds. Using these magnetic molecules, your students can discover hydrogen bonding and make ice. One kit is sufficient for building an ice structure as seen here.
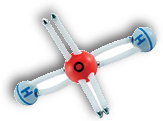 Another compelling teaching tool is the Happy Atoms Complete Set or the Happy Atoms Educator’s Bundle. These digital and physical chemistry sets are a fabulously interactive way for students of all ages to build water and ice molecules—as well as many other molecules. Your students will discover the world of chemistry and molecules in an intuitive, hands-on way. The atoms ‘bond’ together using magnets that accurately portray the single bonds, double bonds, and free electrons that make up the molecules of the universe.
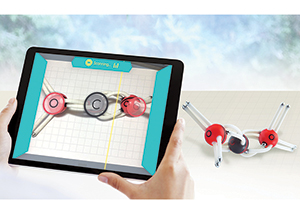 Better still, a free app gives students a wealth of information about all the molecules they create. The kits have sufficient instruction for most teachers. With Happy Atoms, students can build a water or ice molecule, take a picture on a tablet and then gather additional information using the Happy Atoms App as seen below.
A Little Snowflake History
Today’s scientists have developed a contraption called a Vapor Diffusion Chamber in which they can create their own snowflakes and document the snowflake-making process. This is quite a leap from efforts of the 19th century Vermont dairy farmer and self-made scientist, Wilson A. Bentley.
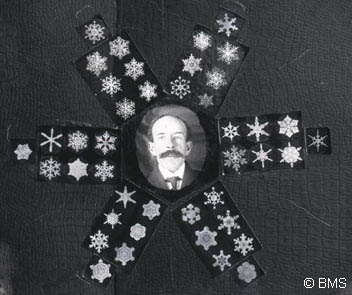
Photo credit: Buffalo Museum of Science
Bentley first became interested in snow crystals as a teenager on his family farm. When he was 15, he tried to draw what he saw through an old microscope given to him by his mother. But the snowflakes were too complex to record before they melted. Undaunted, he attached a bellows camera to a compound microscope and, after much experimentation, photographed his first snowflake on January 15, 1885. His images were so superb, no one else tried to photograph snowflakes until 100 years later.
Bentley captured more than 5,000 images of crystals in his lifetime. Each crystal was caught on a blackboard and transferred rapidly to a microscope slide. Bentley poetically described snowflakes as “tiny miracles of beauty” and snow crystals as “ice flowers.”
Cross-Curricular Snow Fun!
These poetic metaphors might present an interesting cross-curriculum opportunity for your students. I collect snowflakes cast in pewter which are fashioned after his original photos. As a teacher, I used them as hands-on opportunities for students to observe something that was too small and illusive for young children in California. They loved tracing the shapes and writing their own “snowflake poems” on colored construction paper.
If you’re looking for even more snow-related science, check out Educational Innovation’s free Winter Science Newsletter. The Discussion Starters are excellent. And don’t miss the Winter Science Comics!
You might also want to consider a few other snow-themed products from Educational Innovations. Of course there is Instant Snow Polymer – always a hit in my classroom! And the Static Snowstorm Kit is a great deal of fun. You can read more about it on my blog, “Teachable Moments with the Static Snowstorm Kit.”
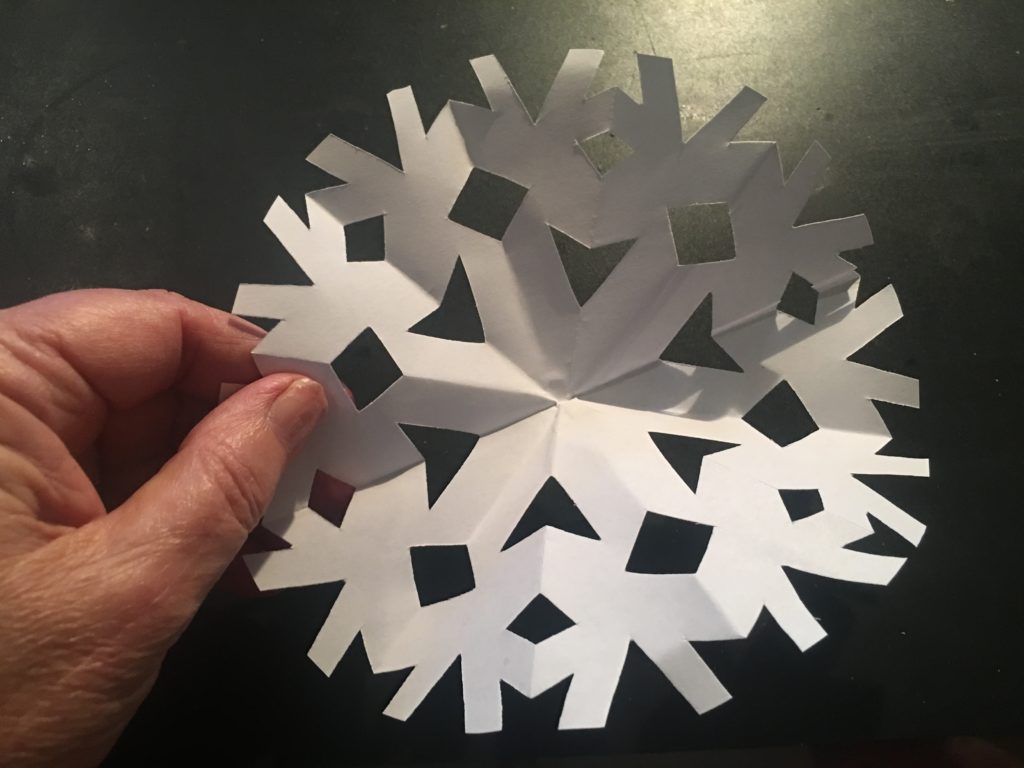
Scientifically-Correct Paper Snowflakes
For a fun winter activity, why not create your own scientifically-correct paper snowflakes and display them in your classroom? My elementary and middle school science students loved creating paper snowflakes. The most common error that occurs in the classroom (and even in commercially-designed paper snowflakes) is that they are not hexagonal. Even on a world stage, the snowflake depictions that spun around during the entrance of athletes at the closing ceremonies of the 2018 Winter Olympics only had five sides.
That can be easily corrected when the initial paper folding is done correctly. Here’s my tried-and-true method for making scientifically-accurate snowflakes:
Materials:
- 8 paper plates (dessert and/or luncheon size)
- hole puncher
- white computer paper
- pencils
- scissors
- rulers
- protractor
Directions:
NOTE: For younger students it may be better to create a template and make copies for each student.
Pre-Class Preparation: Before distributing materials to students, punch a hole accurately in the middle of the paper plates.
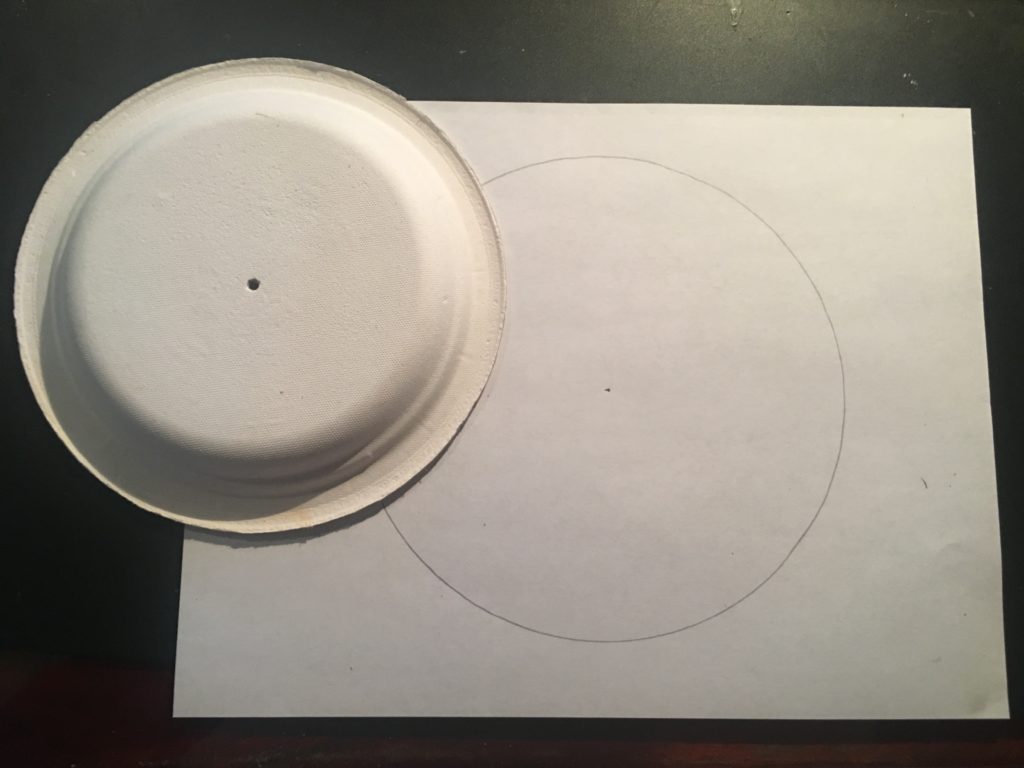
- Place the paper plate on top of the white computer paper. With a pencil, carefully trace around the plate to draw a circle. Insert your pencil into the hole at the center of the plate and make a small dot on the paper. Pass the plate onto another student.
2. Line the ruler up with the dot in the middle of the plate. Draw a line straight across to bisect the circle.
3. Carefully cut out the circle.
4. Place the middle arrow of the protractor on the dot. Locate 60 degrees on the rounded edge of the protractor. Make a mark at 60 degrees.
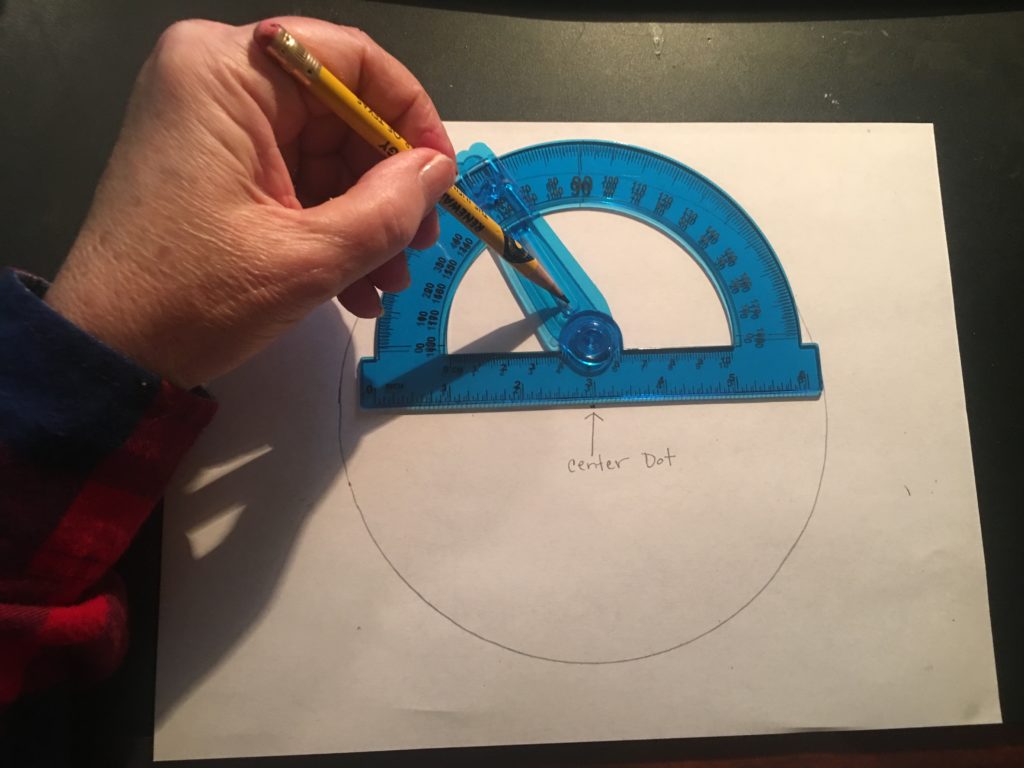
5. Line the ruler up with that mark and the center dot. Draw a line from the center dot to the edge of the paper. At this point, your paper should look like a slice of pie.
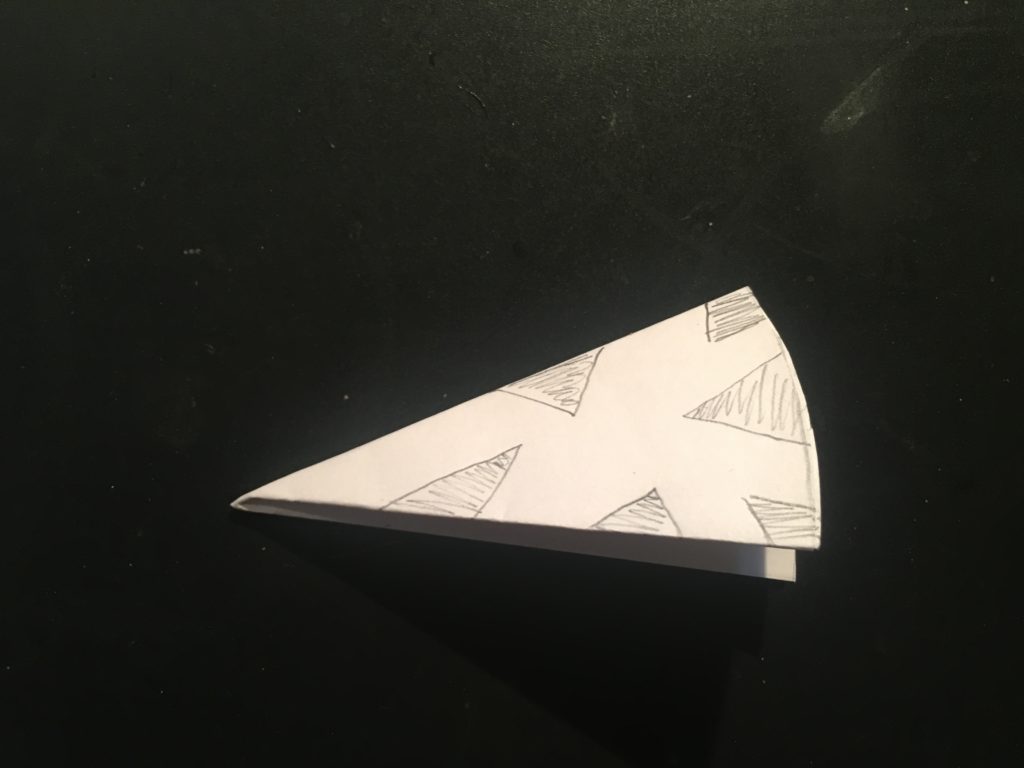
6. Fold the circle in half along the line.
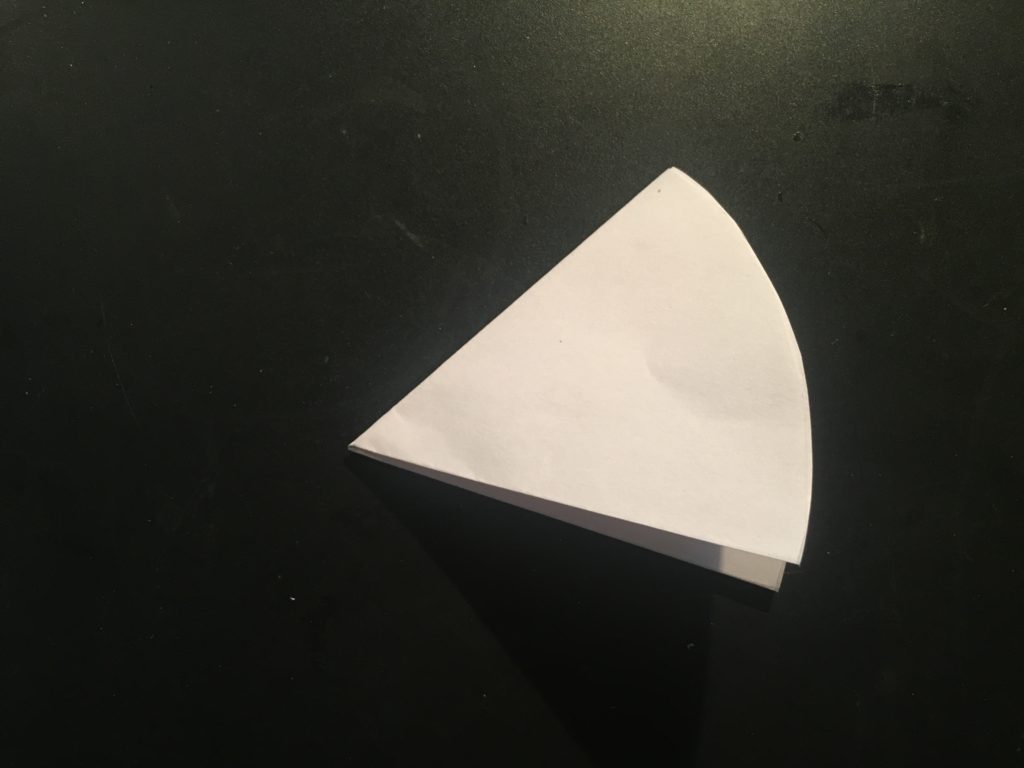
7. Fold one third along the 60 degree line, fold over the other third along that edge. This should create a pie shape with six layers to cut.
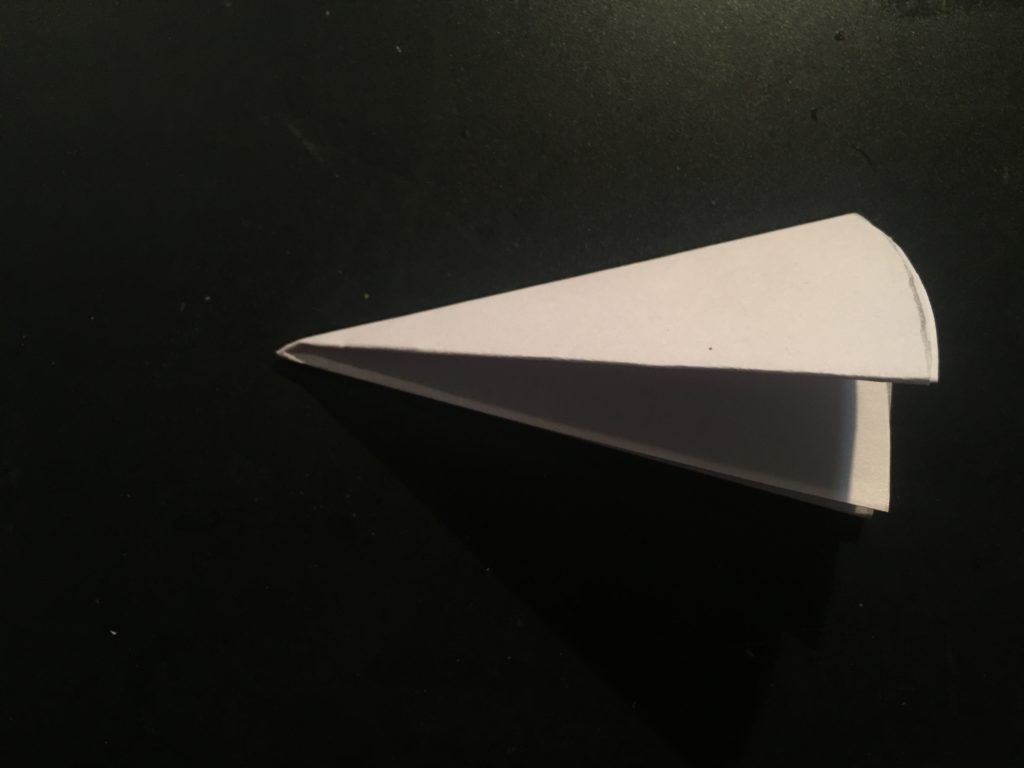
Use a pencil to draw angular notches on the edges of your paper (including the outside edge). Then use your scissors to carefully cut the notches. DO NOT cut all the way across the pie shape!
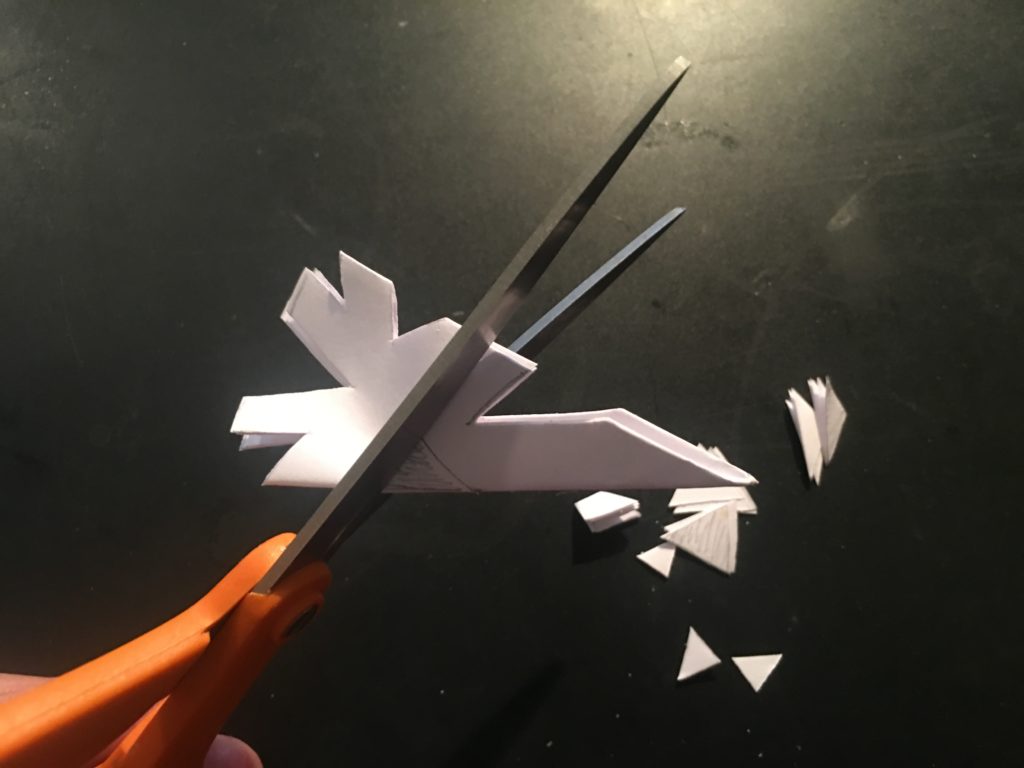
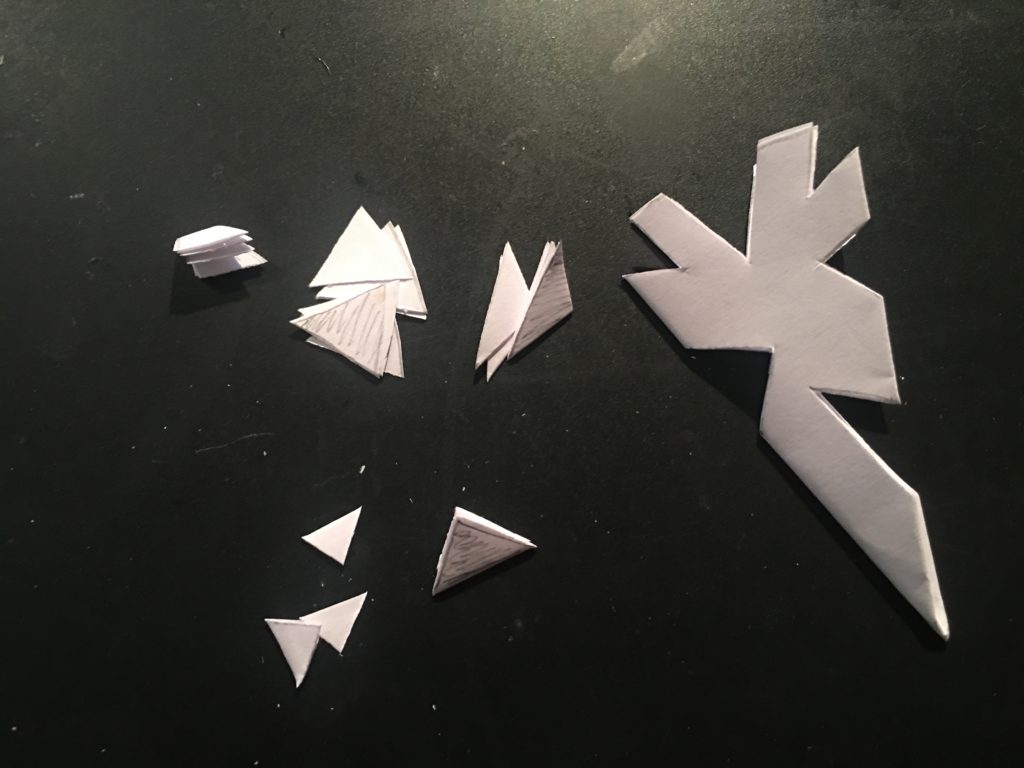
Carefully open up your paper to reveal a symmetrical, crystal formation.