
By Jared Hottenstein
How do you make online learning interactive? I wrestled with that question when my classroom became a computer screen. Science is everywhere, but we seldom take the time to stop and think about it.
Read the rest of this entry »By Jared Hottenstein
How do you make online learning interactive? I wrestled with that question when my classroom became a computer screen. Science is everywhere, but we seldom take the time to stop and think about it.
Read the rest of this entry »
 Leave a Comment » |
  College level, Elementary level, experiments, High School level, Middle School level, STEM | Tagged: at-home science, DIY, Educational Innovations, homeschool activity, homeschooling, science, STEM, virtual learning, virtual science |
  Permalink
 Posted by Donna Giachetti

By Donna Giachetti
With holidays approaching, it’s time to make up my list (and check it twice) of the loved ones I’d like to celebrate with gifts. Sure, some ambitious folks may already have their holiday shopping “in the bag,” so to say. But for the rest of us, here are some unique ideas for science-based gifts.
A quick visit to Educational Innovations’ HOLIDAY LAB always puts me in a festive mood. There are Gifts for Geeks, a plethora of Stocking Stuffers, a special section devoted to Puzzles and Games, and more!

Leave a Comment » | About Us, College level, Elementary level, High School level, Middle School level | Tagged: Educational Innovations, science, science gifts | Permalink
Posted by Donna Giachetti
By Donna Giachetti
When you think of spaghetti, what comes to mind? Delicious swirls of long pasta coated with your favorite sauce? Or… bridges? Yes, bridges! Creating a spaghetti bridge is a tried-and-true engineering challenge that can be done by students of all ages. The opportunities for variables—and STEM learning—are (nearly) endless!
Read the rest of this entry »
Leave a Comment » | College level, construction, Elementary level, engineering, High School level, Middle School level, Physics, STEM | Tagged: bridge, DIY, Educational Innovations, engineering, homeschool activity, remote learning, spaghetti bridges, STEM | Permalink
Posted by Donna Giachetti

By Laurie Neilsen
Who doesn’t love things that glow? Around this time every year, we get a lot of questions about how to make various objects glow in the dark. Which products will glow longest? Which are best for mixing with liquids? How do they work? Fear not! The answers are here.
Read the rest of this entry »
Leave a Comment » | About Us, Chemistry, College level, Elementary level, High School level, Middle School level | Tagged: chemiluminescence, Chemistry, glowing, light, luminescence | Permalink
Posted by Donna Giachetti
By Donna Giachetti
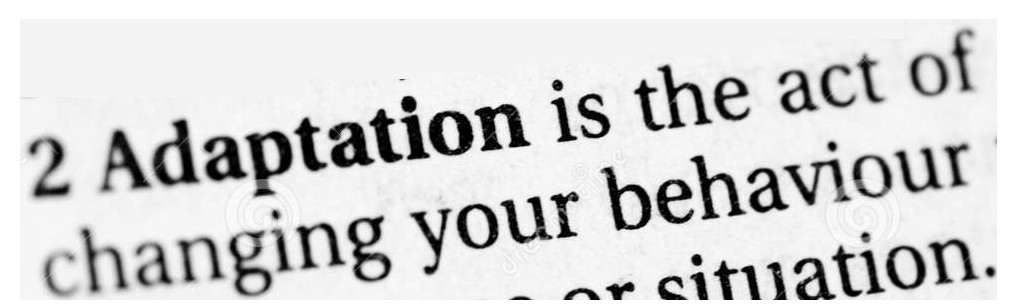
Adaptation. As science teachers, we know what it means. According to Biology Online, adaptation is “the process or the state of adjusting or changing to become more suited to an environment; the trait as a result of the process.”
Leave a Comment » | About Us, College level, Elementary level, High School level, Middle School level, uncategorized | Tagged: adaptations, COVID, distance learning, remote learning | Permalink
Posted by Donna Giachetti