 by: Norm Barstow
When I was an Elementary Science Coordinator, I used to visit the five schools in my district and each year introduced the Pringles® Kaleidoscope as part of the Sound and Light unit. At that time I used microscope slides, and it became quite a challenge to have the students line up and tape nine slides to make the triangular prism. Fortunately, Educational Innovations began to carry Kaleidoscope Mirrors (SM-3), thus making the task much easier.
Here is all you will need to build a Pringles® can DIY kaleidoscope in your classroom.
Materials:
- Supply of masking tape
- Educational Innovations Kaleidoscope Mirrors (SM-3) (3 per student)
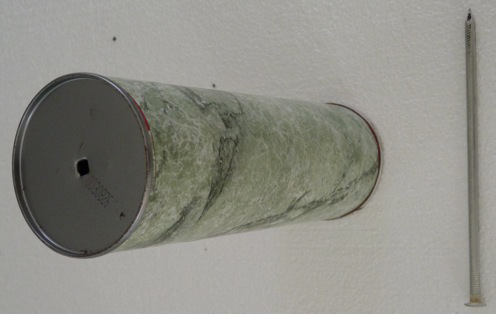
- Pringles® cans and lids with a hole punched in the center bottom (metal part) of the can, using a large nail or drill.
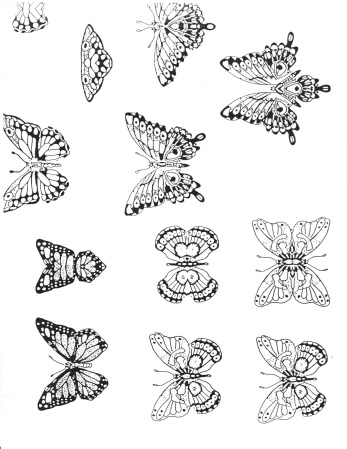
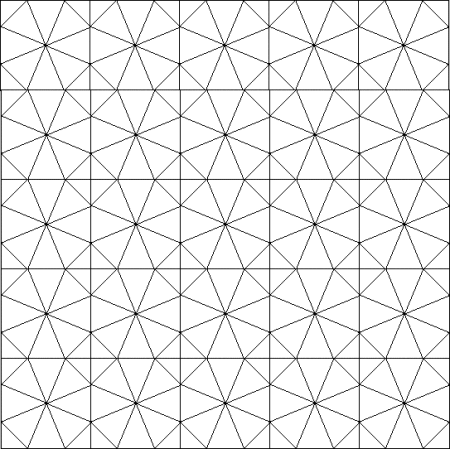
- Colorful butterfly pattern (included below) or other colorful patterns (cut to fit inside the plastic cap). Though any colorful print on white paper should work, colorful patterns on clear acetate work best.
- Supply of newspaper strips
- Contact Paper or colored paper to cover the outside the Pringles® container
Procedure:
NOTE: Test the length of the mirror inside the Pringles® can. It should not touch the cap of the Pringles can. It may be necessary for an adult to cut 1/8″ to 1/4″ off the mirrors using sharp scissors or a utility knife in order for it to fit inside the can with the cap on.
1. Prepare the Pringles® can by punching a hole in the metal bottom of the can to serve as the eye piece.
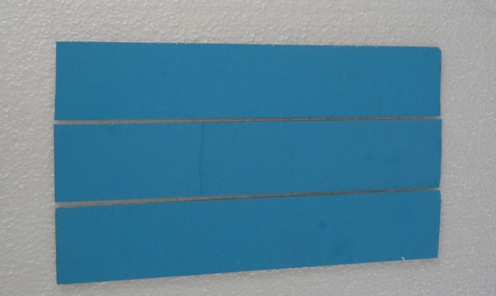
2. Arrange the 3 mirrors (on the desk) in columns as shown. The mirrors in the column should not be touching. Leave a small space between each column (about the width of a mirror.)
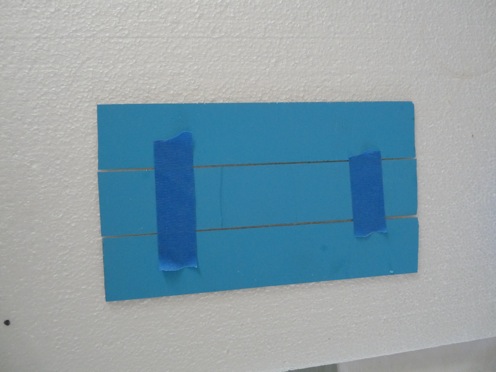
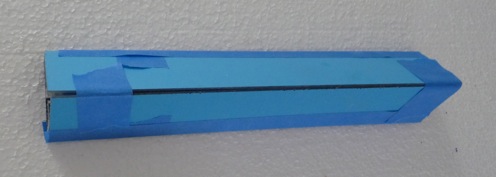
3. Create a hinge with masking or painters tape.
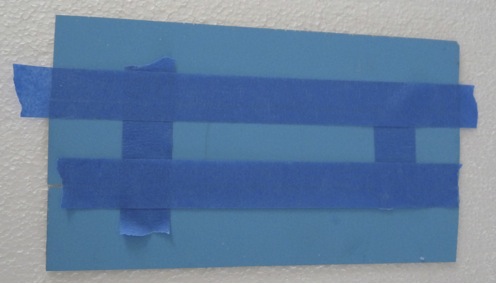
4. Have the students cover the gaps of the mirror array with masking tape. Trim tape at ends.
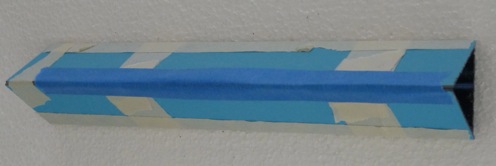
5. Remove the protective clear coating from the surface of the mirrors. Gently fold the slides of the mirrors into a triangular prism so the mirrors are pointing inward.
6. Tape the prism in shape and cover the gaps where the mirrors come together.
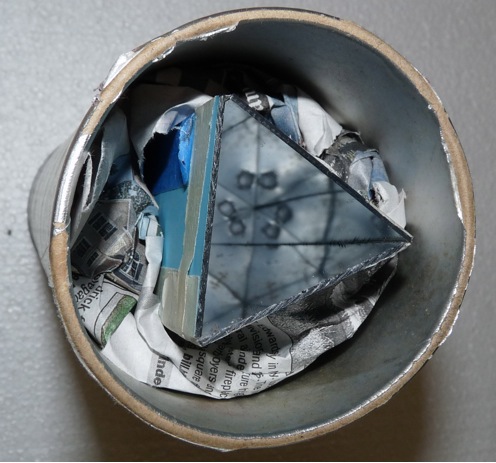
7. Twist a page of a newspaper into two 12″ strips. Wrap the twisted strips of newspaper around the prism to provide stability and making certain that the prism is lined up over the hole, insert the mirrors and newspaper into the Pringles® can. Continue to add more newspaper to stabilize the prism.
8. You can use the kaleidoscope as is by pointing it at colorful objects around the room, or you can also place a colorful pattern (two ideas have been provided below) inside the plastic cap and loosely put the cap on the kaleidoscope. As you turn the cap you will see the wonderful patterns created by the adjoining mirrors.
9. Finally cover the outside of the can with colorful paper or contact paper.
Great idea for my 4th grader’s science fair project.
Please let us know how it turns out!