 We Water Molecules Stick Together! | Surface Tension Demonstrations
by: Tami O’Connor
I am a believer that observing discrepant events burns concepts into students’ memories far longer than simply reading the facts of the lesson from a text book. A few years ago I was designing a unit on surface tension. Because so many awesome hands-on activities deal with this topic, my greatest problem was picking and choosing! In this blog, I will describe one of my students’ favorite surface tension demonstrations. It teaches about surface tension and capillary action.
Materials (per student):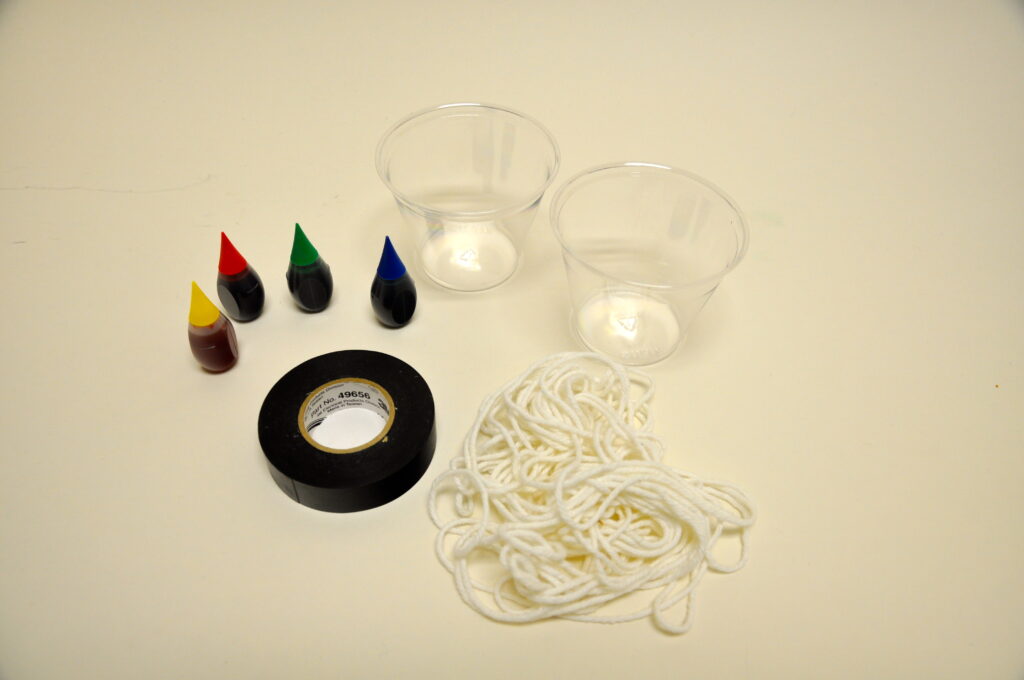
- 2 – plastic cups (I prefer Solo brand)
- Electrical tape
- 18 inches of white yarn
- Food coloring
- Water
Procedure:
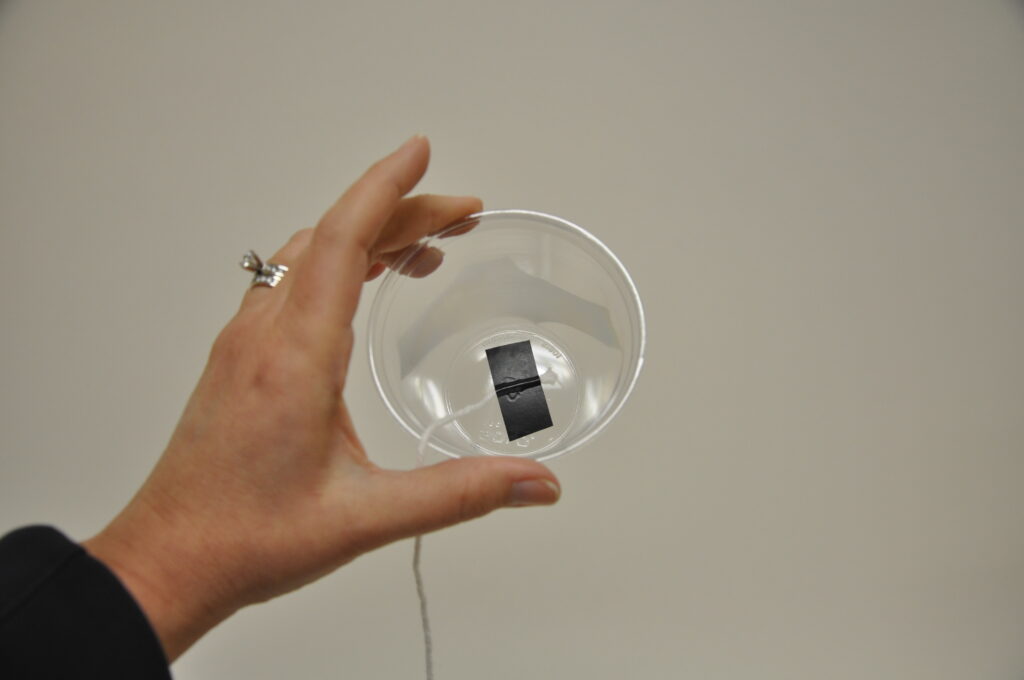 Cut 2 pieces of electrical tape (1 inch each). Using the tape, affix the end of the yarn to the inside bottom of one of the cups. With the other end of the yarn, repeat with the second cup. Put as much yarn as will fit into one of the cups, and add water until the cup is about half full. Holding the cups close together, pour the water from one cup to the other allowing the yarn to flow with the water. When the yarn is thoroughly saturated you are ready to begin.
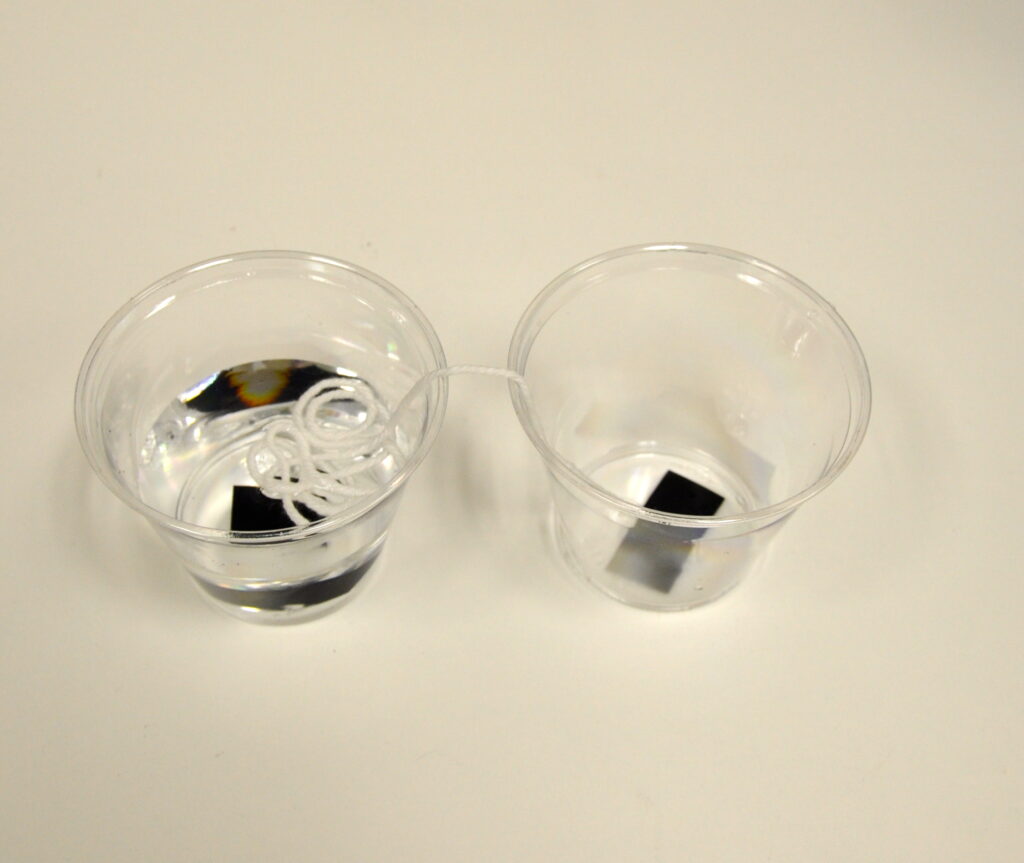 Hold the cup with the water directly over the empty cup and pull the yarn taunt. Slowly pour the water from the top cup into the bottom. You should notice that the water flows from the lip of the cup and follows the yarn into the lower cup. Reverse the position of the cups so the full cup is now above the empty one. Offset the top cup so it is about one inch to one side of the lower cup. With the yarn stretched tight between the two cups and the yarn from the top cup stretching over the lip on the side of the cup closest to the bottom cup, pour the water so it flows along the yarn and into the lower cup. If done correctly, you will notice that, even though the top cup is not directly above the bottom cup, the water does not fall straight down but rather flows diagonally along the yarn.
You will find that you can offset the cups by several inches, and, as long as the yarn is tight and along the side of the top cup that is on the same side of the lower cup, the water will continue to follow the yarn into the lower cup.
Why does this happen?
Molecules of water form a cohesive force with one another. This force holds the molecules of the water together, so, when the weight of the water pulls it downward because of gravity, it in turn holds onto the water around it. Since the fibers of the yarn are saturated with water, the water leaving the cup follows the yarn downward into the lower cup.
Try This: After students have successfully poured water from one cup to another at an angle greater than 10 degrees, have them attach dry yarn between two new cups the same way they did before, but this time, keeping the middle section of yarn dry when water is added to one of the cups. Have the students try to pour the water at a 10 degree angle again with the new cups and dry yarn. I suggest keeping a lot of paper towels on hand!
Why does this happen?
Since the yarn does not have any water on it, the water’s weight due to gravity acts on it without the cohesive force of the additional water in the yarn; therefore it falls straight down rather than diagonally across the yarn.
Next Activity:
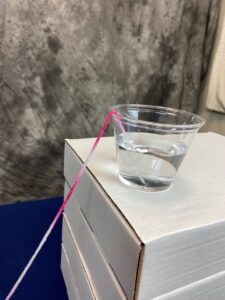
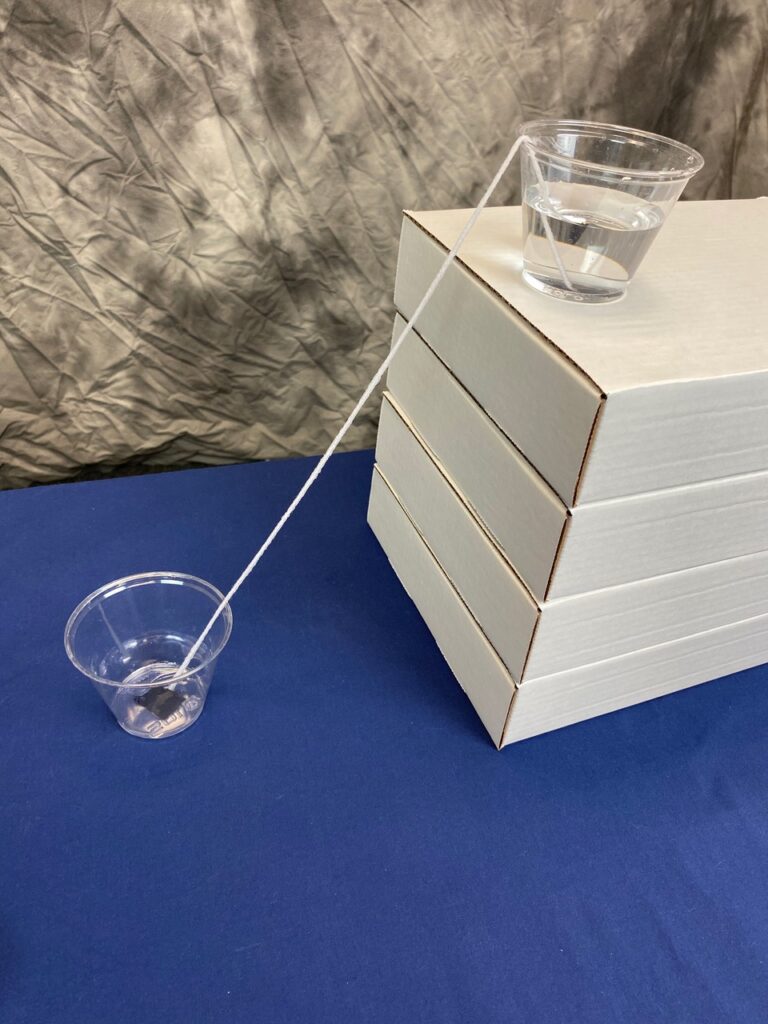 Find books, boxes, or other objects that will raise the height of one of the cups above the desk. Using the cups with the wet yarn, place the cup containing water on top of the raised surface. Move the empty cup at an angle lower than the top cup. Move the cups away from each other so the yarn is pulled taunt. Leave the cups for about 20 minutes and observe the level of the water in the two cups when you return.
Why does this happen?
Capillary action is ability of a liquid to flow in opposition to external forces like weight due to gravity. It is defined as the movement of water within the spaces of a porous material due to the forces of adhesion, cohesion, and surface tension. Because of capillary action, paper towels absorb spills, trees and plants are able to carry water and nutrients from their roots up through the plant tissue, and forensic scientists can use chromatography to help solve crimes.
More:
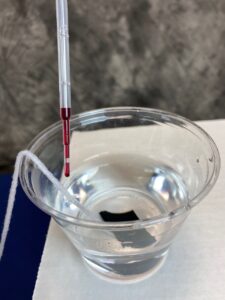
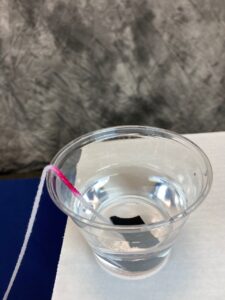
Some students have difficulty believing that the water from the raised cup is, in opposition to gravity, actually traveling up the yarn to the lip of the cup and then downward along the diagonal of the yarn into the lower cup. That’s where the food coloring comes in… close to the surface of the water, but being careful not to get it in the water, place a drop of food coloring on the yarn inside the top cup. As the water travels up from the cup and along the yarn it will carry the food coloring along with it. The food coloring will travel down the yarn showing the speed at which the water is moving. As the color leaves the lip of the cup, use a second color on the yarn just as you did the first color. Repeat each time the previous color leaves the cup until you have a rainbow of colors traveling down the yarn!
Wonderful idea and the moving colours are certainly an experience to remember. Can’t wait to get started on it at home and then get it to school after spring break!
What grade level do you use this for?
This lesson/demonstration can be used for almost any grade level. The depth of the subject with regard to exactly what’s happening scientifically here is what would change depending upon the age of the students. I, personally, have used this in grades 1-7 and have also used it with Girl Scouts and during school wide science presentations. The students are pretty impressed with the fact that the food coloring seemingly defies gravity and moves up and over the lip of the cup! Please let us know if you decide to use this demonstration with your students and how they liked it.
This is a wonderful science activity, very easy to do, offers a lot to learn.
It will be interesting to do the experiment with the green food coloring, see it the yellow and blue get separated. If they do, we can teach chromatography too.
Great activity. My granddaughters will love it. It will go well with playing in the yard during ‘recess’ from school at home.