
By Jared Hottenstein
As anyone in the culinary world will tell you, presentation is everything. World famous restaurants with multiple Michelin stars put as much effort into presentation as they do in preparing the food.
Science teachers could learn something from chefs. I’m not talking about adding flashy multimedia and explosions. The goal isn’t to entertain… but to take a few extra steps that will help our students stay involved. How do we do that?
A great place to start is integration. Science teachers think about science. What if we begin to think of ways to bring in social studies, reading, writing, and math to help with the presentation of our science lessons? What if a meaningful project could allow students to apply their new learning in myriad areas? Let me give you an example.
Float the Boat
A very common density and buoyancy activity is to have students craft a boat from aluminum foil and see how many pennies or paper clips they can place in it before the boat sinks. The boats usually look like they were in a car accident, if we’re being honest. The students spend very little time understanding the science. They’re only thinking about making their mini-Titanic sink.
But if we change how this lesson is presented, we can strongly impact our students’ understanding of the science. If we layer in some integration to frame the lesson and structure the activity and then we introduce a project that allows application, our students will want to be involved. So how can we modify this activity?
Let’s Get Started with Integration and Application
We’re going to sprinkle in a little math and literature into the lesson. What if we transformed those paper clips and aluminum foil boats into something else? How about if the boat becomes a lily pad? Could I fold those foil lily pads into different shapes? What if the paper clips become leapfrogs? Is there a way to bend a paper clip to make it hop like a frog? Could I have students measure the length of those hops and then graph the results? What if my students compared how far small paper clip leapfrogs jump compared to large paper clips? Could my students compare the surface area of the different shaped lily pads to how many leapfrogs they can hold? Would that help them better understand the science of buoyancy and density?
What if I could find a story about a jumping frog and frame the lesson around that? Wouldn’t you know, Mark Twain wrote a great story called the Celebrated Jumping Frog of Calaveras County. The Nashville Public Library posted a wonderful adaptation of the story on YouTube (https://www.youtube.com/watch?v=WVqCDexJYyo). What if we read the story or watch the video to kick off the lesson? I’ve found that integrating literature into science class seems out of place for students and their engagement level increases.
Let’s run with this story, work in some math, and see how our lesson takes shape. I’m calling it “Leapfrogs and Lily Pads.”
Leapfrogs and Lily Pads Lesson Overview
Gathering and graphing data is a huge part of science. Teachers try to make the process as engaging and relevant as possible, but it’s not always exciting. “Leapfrogs and Lily Pads” is a great way to get students excited about gathering data. Plus, the only required materials are some paper clips and aluminum foil.
Students start by turning a paper clip into a “leapfrog” by bending it so that it springs and hops.
After a lesson on finding mathematical landmarks and measuring with a ruler, students measure the distance of 10 to 20 leaps or hops from their “leapfrog” paper clip and then record their measurements. Students must then calculate a variety of mathematical landmarks such as maximum, minimum, median, and mean to determine which leapfrog is the best jumper (similar to Twain’s story).
The next lesson introduces the “lily pads.” After receiving instructions on how to fold the aluminum foil lily pads, students can use a ruler to create “lily pads” of different shapes and sizes. Students must then calculate the surface area of the bottom of each lily pad.
Next, students are given a bowl or deep dish filled with water to become their “pond.” Students float each lily pad and record how many paper clip “leapfrogs” can fit on the lily pad before it sinks. Students should discover that a lily pad with a larger surface area will hold more leapfrogs. NOTE: It’s easiest to use groups, but the materials are cheap enough that students can do this individually if you’re worried about social distancing.
Making the Frogs
Large paper clips work much better than small paper clips. Start by prying the top ends of the paper clip apart so it forms a “V.” Next, unbend the shorter leg so it forms a 90-degree angle. The shorter end with the right angle will be the base of your leapfrog.
To make your frog jump, you’ll need to fold a Post-It note in half and tape each edge of the Post-It to your desk. The fold will allow you to slide the front edge of your paper clip frog under the Post-It note. This holds the front of our frog down so we can compress the paper clip and make it jump.
There are other ways to bend the paper clips so they jump further, but then measuring the jump becomes more of a challenge. You can also have your students experiment with bending paper clips in different ways to create their own jumping frogs.
Folding the Lily Pads
Start by using a ruler to measure and draw a shape in the center of the aluminum foil. Then go back and line up your ruler along one side of the shape. Trace along the outside of the ruler to create a line parallel to that side. Do the same thing to each side of the shape. If you started with a triangle, you should have a smaller triangle inside a larger triangle.
Cut along the outer shape and then you’re ready to start folding. Fold each side of the outside shape to the line of the smaller shape. Bend up each side of the shape and fold corners so the sides are locked together. You should be left with a crisp and sturdy lily pad.
Folding a circle is a little tricky but if you take your time, it can be done. Remember to make your boat small enough so it fits inside whatever container you are using for a pond.
The Science
Because students are crafting and building leapfrogs and lily pads, this experience would work perfectly as a STEM design lesson. It would also work if your grade level curriculum covers buoyancy and density.
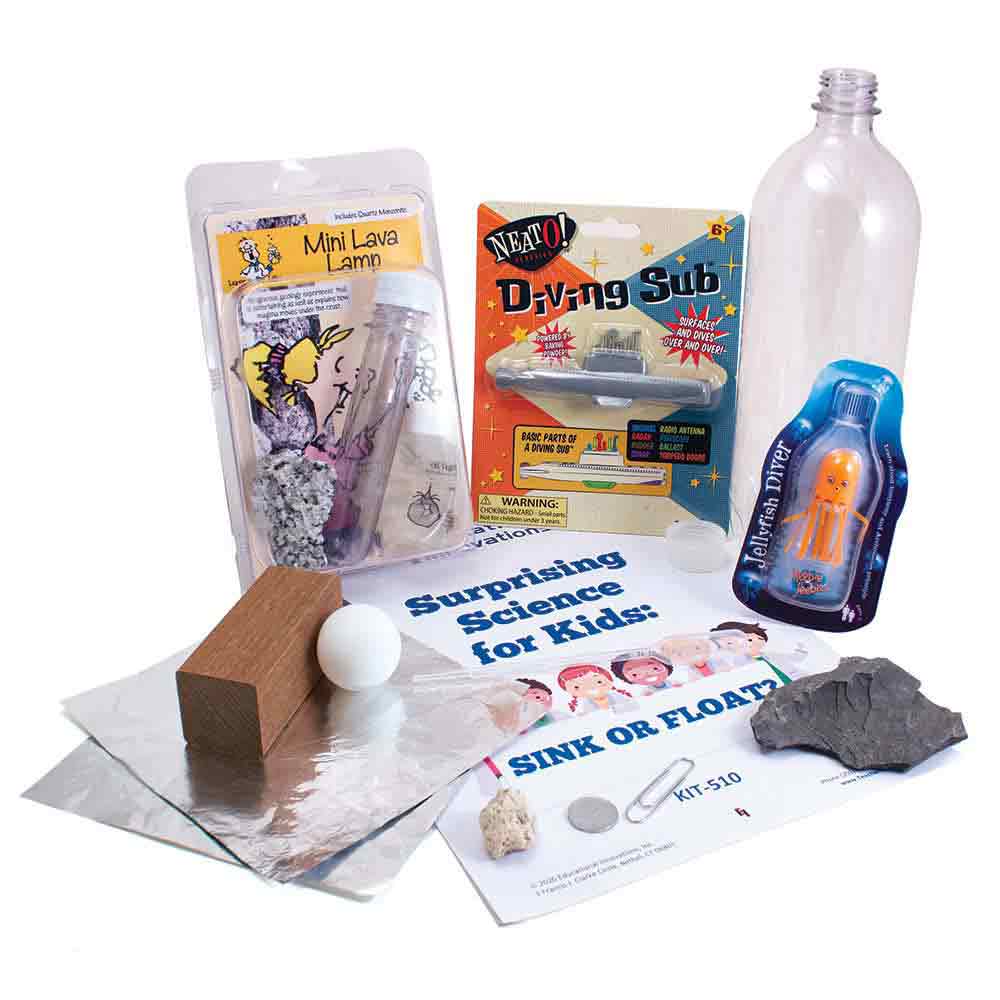
Educational Innovations has a huge selection of supplies that allow students to explore those topics in greater detail. Their Poly Density Kit, Density Sphere Experiment Kit, Diving Submarines, and Jellyfish Cartesian Divers would all be excellent tools to follow up and build on this lesson.
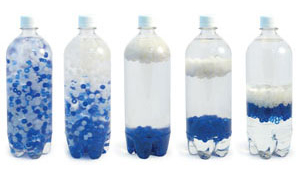
Poly Density Kit 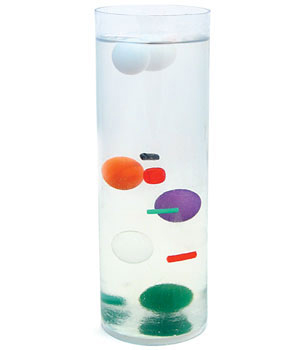
Density Sphere Experiment Kit 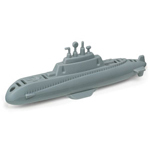
Diving Submarine 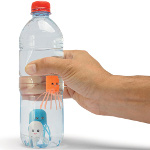
Jellyfish Cartesian Diver
There’s also their exclusive Surprising Science for Kids: Sink or Float? Adventures in Density kit. It’s a fantastic all-around exploration of density. Check it out!
Start Out Small…
I’ve been teaching long enough to realize many teachers are asking where they’ll get the time to do this. I get it. I’m not suggesting you transform every lesson with integration and application. Most of us don’t go to fancy restaurants every night of the week. We visit on special occasions. Think about your curriculum. Is there one lesson you could modify with integration and application? All the effort and energy won’t result in a Michelin star, but your students may just ask for more!