
By Jared Hottenstein
I imagine every science teacher has occasionally wrestled with the urge to “Go Big or Go Home.” Who doesn’t want to deliver a majestic display of science that leaves our students speechless? But I’d like to propose another well-known expression: “Keep It Simple, Stupid.” (Actually, I’m going to soften it to “Keep It Simple Science.”)
By “keep it simple,” I don’t mean dumbing down your content or limiting your lessons to basic science concepts like describing an object’s physical properties (color, shape, texture). But I believe that sometimes the simplest activity can have the biggest impact. Teachers may feel pressured to invigorate their online science lessons to keep kids amused.
It’s tempting to plan extravagant and eye-catching science demonstrations to help keep our students involved. But keeping students involved is different than keeping them entertained, especially during online learning. Rather than stage a Mentos and soda fountain extravaganza or an elephant tooth paste eruption, give “keep it simple science” a try! Simply put something simple in your students’ hands and invite them to participate.
How’s This for Simple?
Let’s look at something really simple… a rubber band. Renowned physicist Richard Feynman once declared rubber bands to be fascinating. It’s amazing that such a scientific powerhouse who plumbed the complexities of scientific thinking found something so simple to be worth his esteem. Feynman suggested holding a rubber band to your lips and stretching it out. You’ll feel that it gets warmer. When you retract the rubber band, it gets colder.
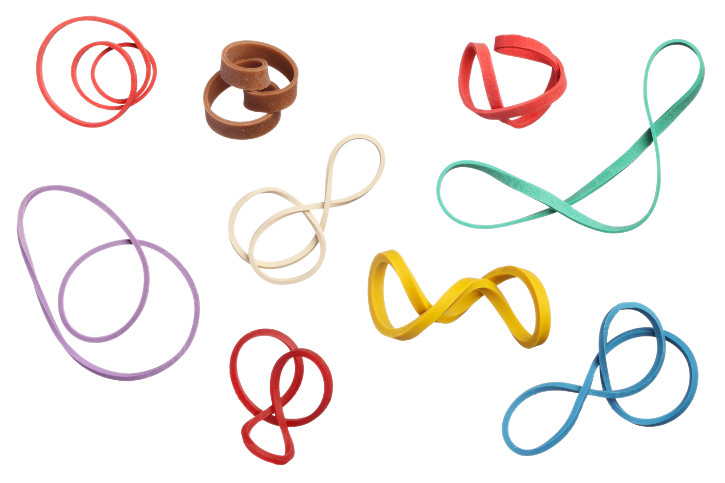
As a shout-out to Richard Feynman, let’s take a look at three engaging science activities we can do with a simple rubber band. All three of these activities tap into that primal urge to send something flying into the air. In other words, these simple demos will wow AND teach your students!
Rubber Band Rocket Cups
Grab a few plastic cups (9 or 12 oz will work), a hole punch, some paper clips, and a handful of rubber bands. Punch two holes opposite each other along the upper rim of the cup. Loop a rubber band through one of the holes and pull it over the rim and back through itself.
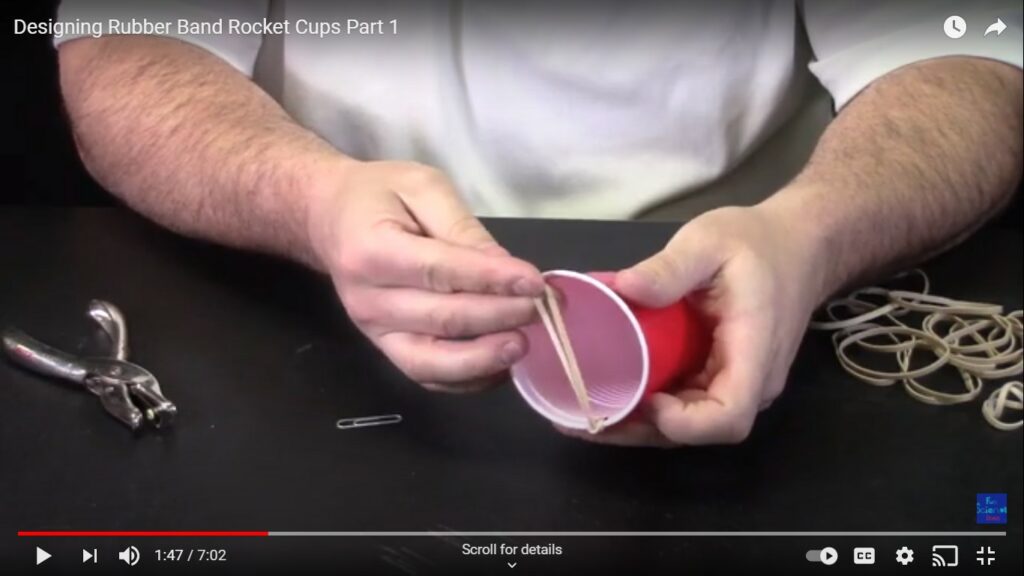
Next, stretch the other end of the rubber band through the other hole. Slip a paper clip through the end of the rubber band so it can’t pull back through the hole. Tape the paper clip to the side of the cup and you’re ready to launch.

An upside-down cup can serve as a launch pad. Press the rubber band rocket cup down over the launch pad. After a quick count down, let it fly! Rather than try to measure the height of each flight, students can try hitting the ceiling with each launch.
An upside-down cup can serve as a launch pad. Press the rubber band rocket cup down over the launch pad. After a quick count down, let it fly! Rather than try to measure the height of each flight, students can try hitting the ceiling with each launch.
Take Your Rocket Cups Further
Click on the video below for a full demonstration of how to build and use your rubber band rocket cup:
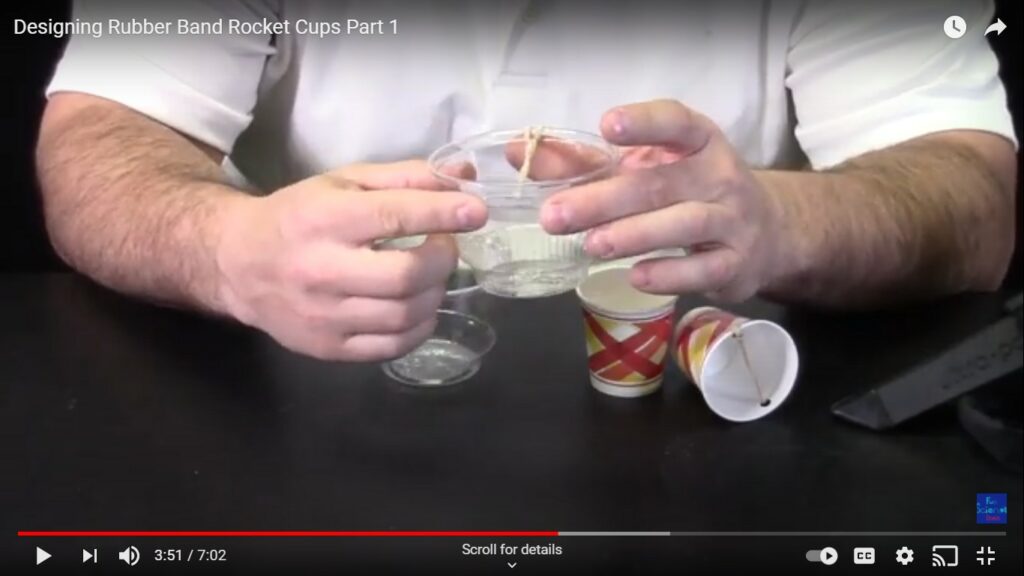
Because these rocket cups are so easy to make, students can make a fleet of rockets to launch. They can try using cups of different sizes and materials. Do plastic cups fly higher than paper cups? Are Styrofoam cups strong enough to use? They can try adding another rubber band by punching two more holes. For a grand finale, students can stack a few rocket cups together for a double, triple, or quadruple stacked launch.
Time permitting, you may also want to give your students time to add a nose cone and fins to the rocket cups. Or let students make different launch pads. What if the launch pad is taller? Will a water bottle work as a launch pad? Rubber band rocket cups are perfect for a single-day design build, but they can also be easily stretched (no pun intended!) into a three-day activity.
Simple Binder Clip Catapult
You can also use rubber bands to build a catapult. To get started on our catapult, you’ll need a binder clip, a rubber band, and something to launch. Erasers, cheese puffs, and marshmallows are all good projectiles.
It doesn’t take much longer than a minute to build the catapult. You’ll want to start with the binder clip flipped back to its normal, working position. Start by pulling the rubber band through the binder clip arms.
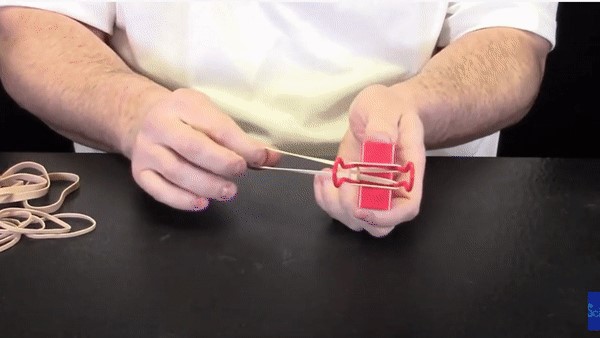

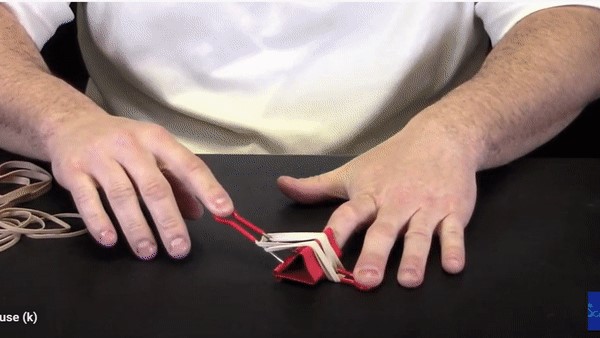
Stretch one side of the rubber band back over both arms. Do the same thing to the other end of the rubber band. Now you just need to bend the arms back in the opposite direction to stretch the rubber band and give the catapult power. That’s it!
Technically the catapult is finished, but it’s helpful to add a handle. Slide the binder clip catapult onto a ruler and—voilà—you’ll have a ready-made handle. Students can compete to see who can launch their projectile the farthest.
Take Your Binder Clip Catapult Further
The binder clip catapult also allows students to tweak and adjust their designs. What if students used different sized rubber bands or wrapped the rubber bands more tightly around the binder clip arms? What if they used different sized binder clips? Students may also find that they’ll need to adjust the launch angle. Sliding a pencil along the binder clip under the rubber bands is an easy way to adjust the launch angle. You can also make the design a bit more complicated by using a Dixie cup or aluminum foil to create a basket or platform to hold your projectile. With the right design, students will be able to launch things across the entire classroom. Safety note: It’s best for students to use safety goggles on this one.
Click on the video below for a full demonstration of how to build and use your binder clip catapult:
Paper Airplane Launchers
Kids love flying paper airplanes. Adding a rubber band launcher is a simple way to kick things up a notch. You’ll need a stapler and a paper clip along with a pencil, some tape, and a few rubber bands.
Give students some time to make their paper airplanes. The internet has a ton of different design ideas.
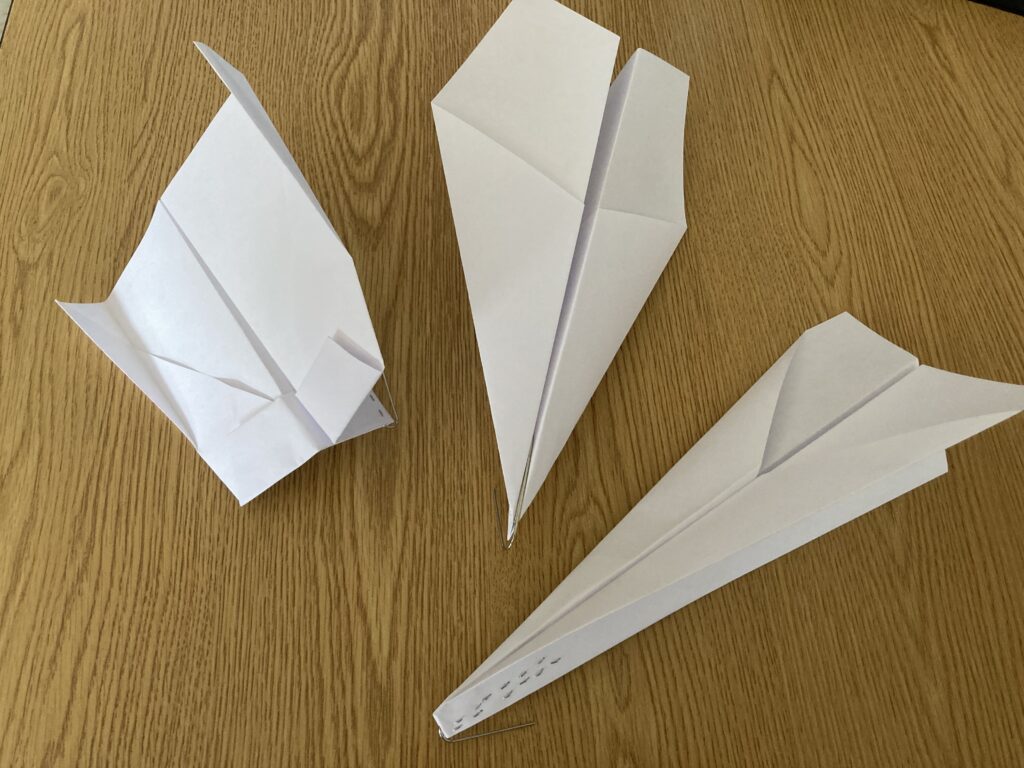
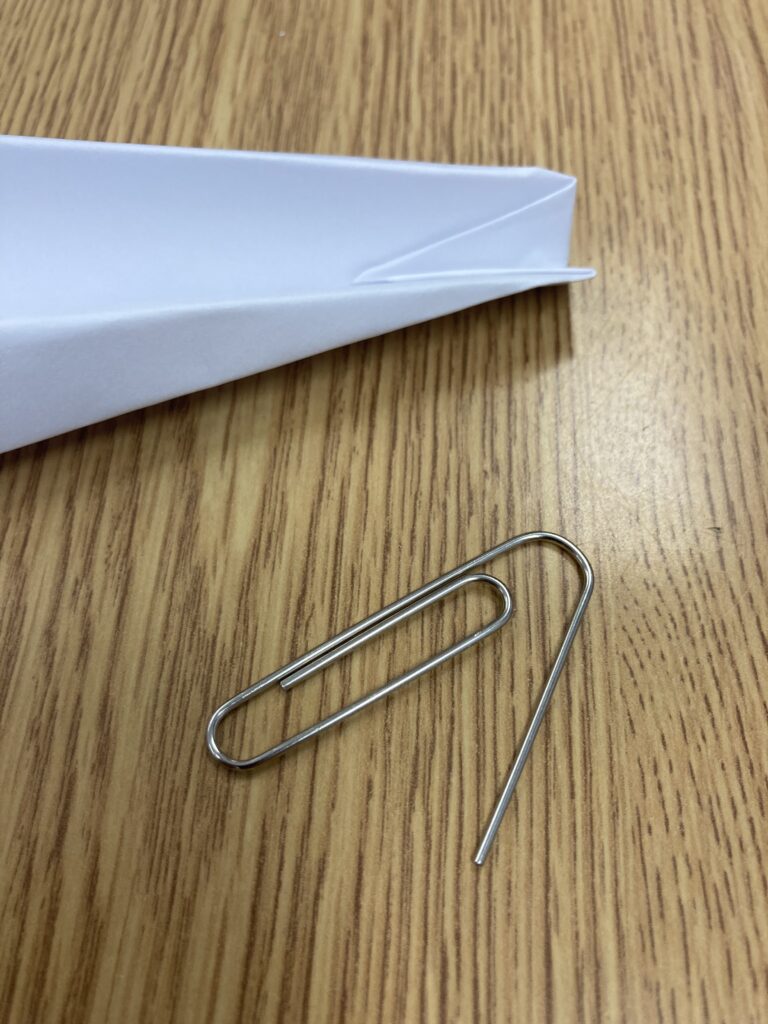
Once the plane is made, it’s time to attach a paper clip to the nose of the plane. Slightly unbend one leg of the paper clip and slide it down the center of the plane, making sure to keep the bent leg of the paper clip pointing down. Add a few staples to hold the paper clip in place.
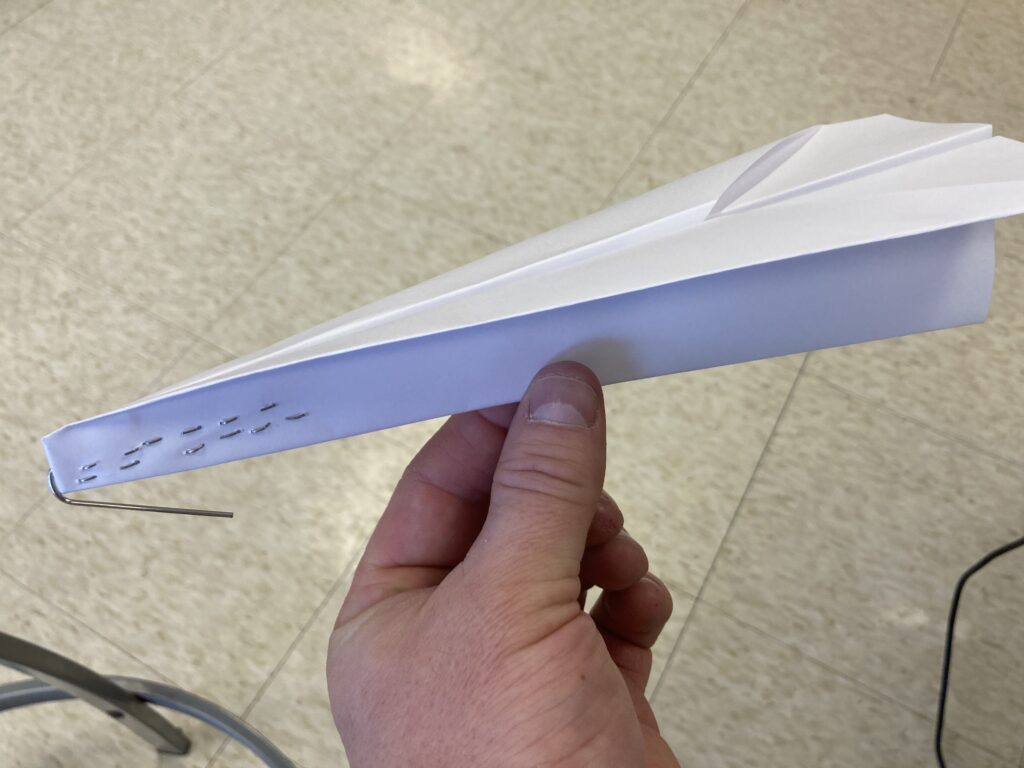
Now it’s time to make the launcher. Simply tape a rubber band onto the end of a pencil. Make sure the tape is reinforced; otherwise it may tear after a few launches. Head outside or into the hallway and see who can launch their plane the furthest. Students can make an entire fleet of paper airplanes and compete to see who can launch their plane the greatest distance. Safety note: the planes come zipping out of the launcher, so make sure no one is standing in front of you during the launch.
In the world of online learning, distributing science materials can get complicated. Why not simplify? Grab some rubber bands and let your students try a “Keep It Simple Science” challenge. You don’t need to go big because the students are already home!