By Laurie Neilsen
I’ve wanted a 3D printer for a long time, but I live in a small apartment where space is limited. That’s why I was thrilled when Educational Innovations, the company I work for, started selling 3D pens. They’re much smaller and more affordable than 3D printers, and they don’t require any special computer programs to use.
For the last 16 years, I’ve been a photographer and graphic designer at Educational Innovations. I confess I was never very good at science in school, but I’ve learned a lot working here.
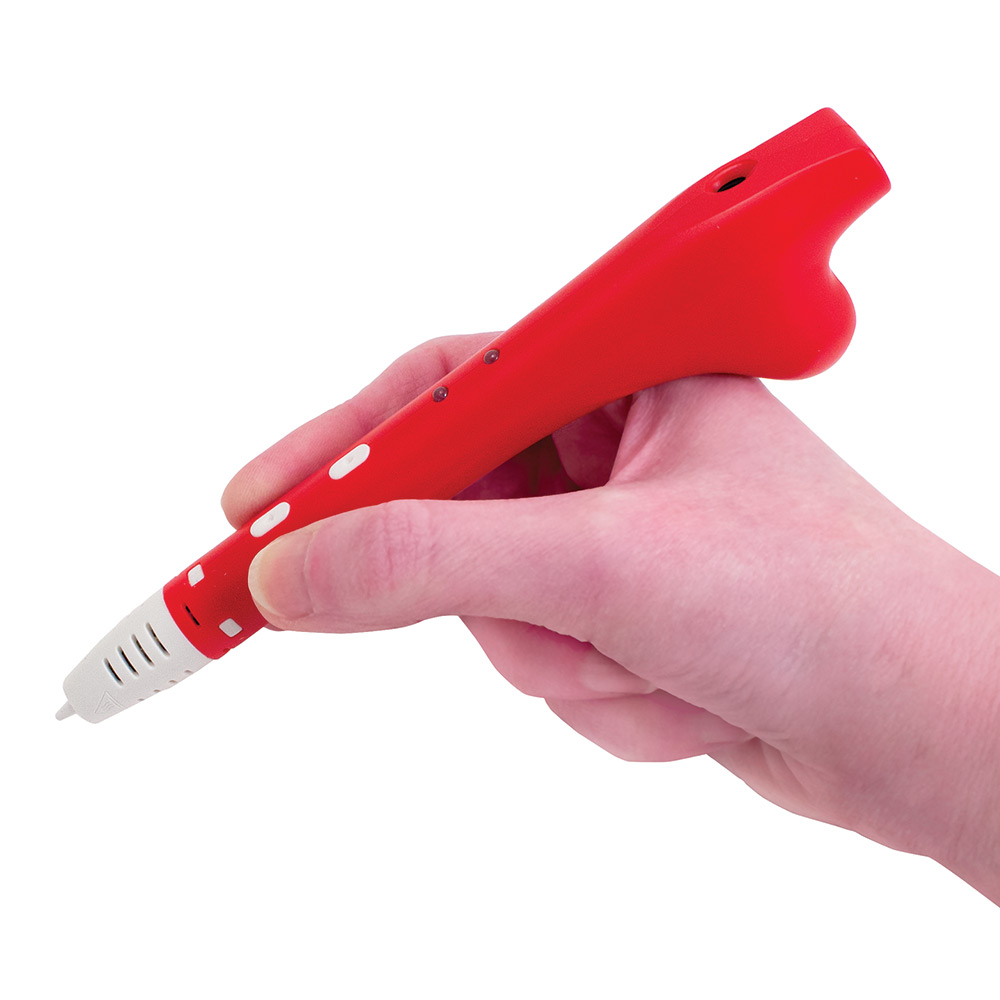
I often wish my teachers had known about Educational Innovations back when I was in school.
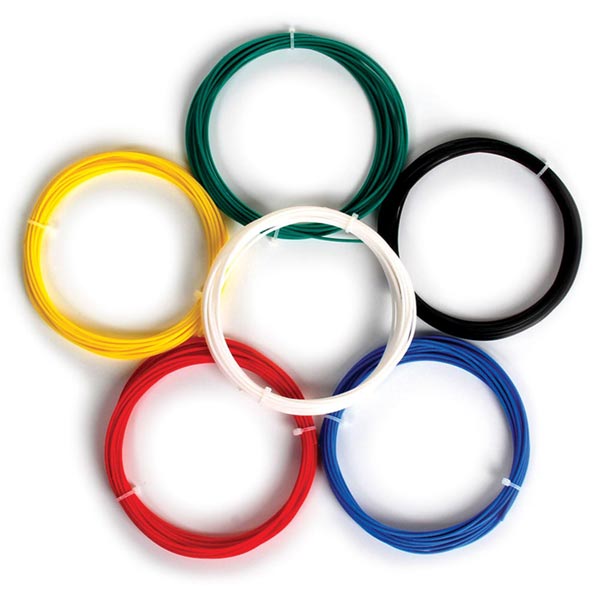
I bought my 3D Pen pretty much as soon as we had them in stock. I also purchased a pack of six color filaments to expand my options.
My first attempts…
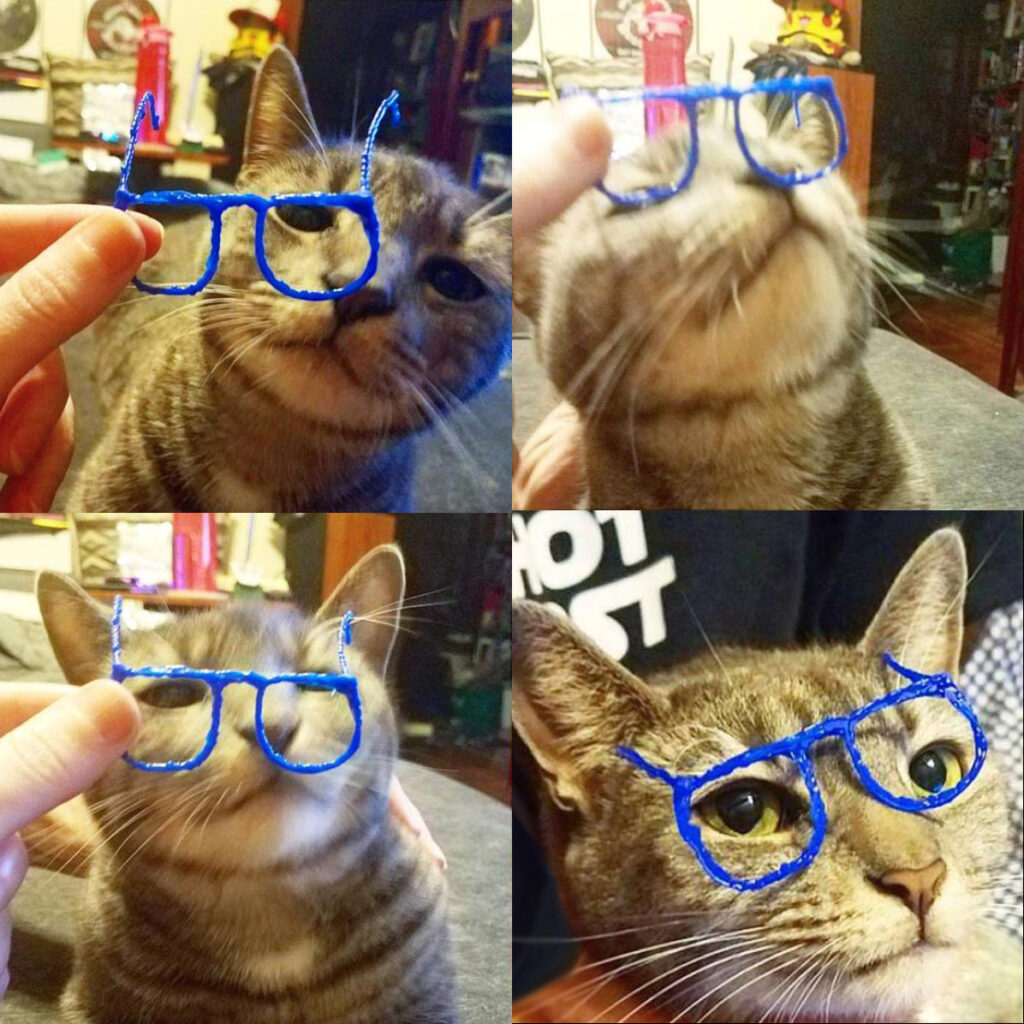
Since I had never used a 3D pen before, my first few attempts were a bit iffy. For instance, I made a little pair of glasses for my cat, who was neither impressed nor amused. (No cats were harmed in this process, only terribly annoyed.)
I decided to try something more challenging. Why not a plane? So I researched pictures of biplanes until I found an image I liked. My plan was to make the components—the body, wings, propeller, and wheels—in separate pieces and then glue it all together with the same filament.
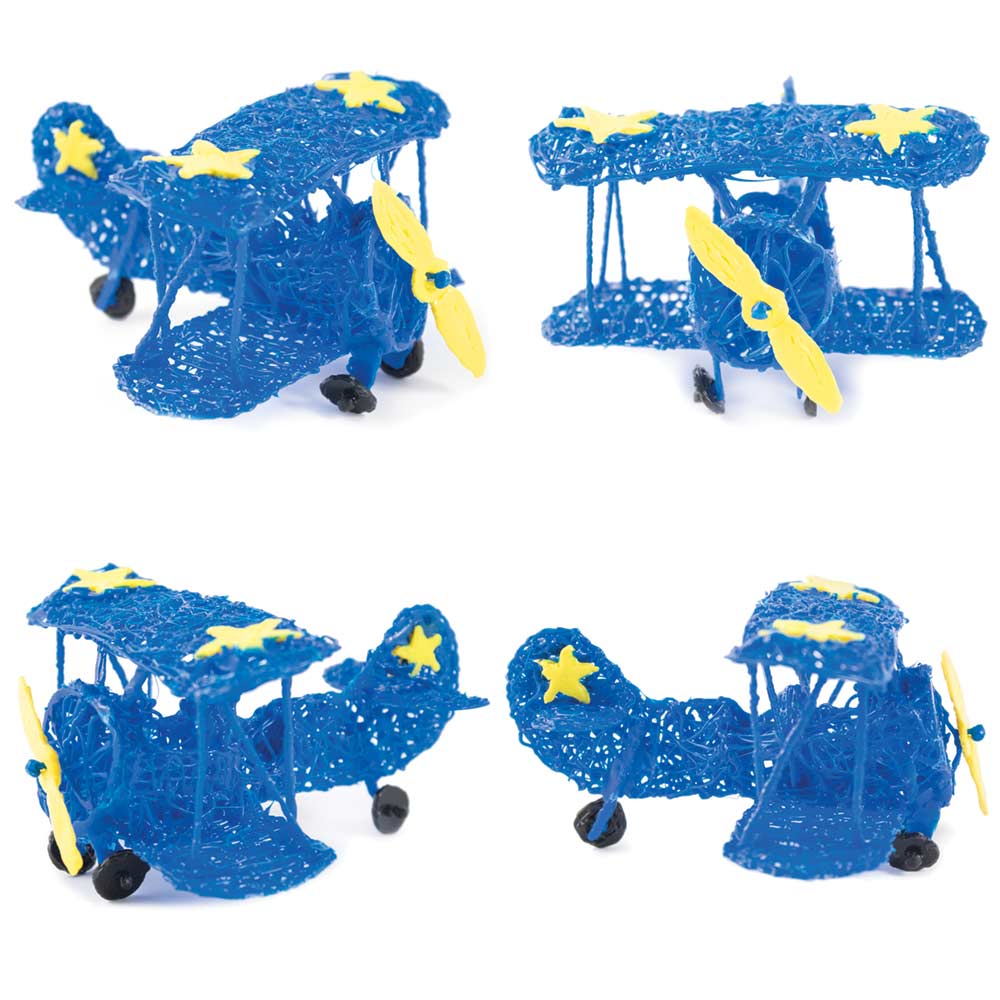
I was mostly successful.
It looked a little too much like blue spaghetti to me, but the little propeller on the front and the wheels all spun as they needed to, so I was happy with it.
I decided to step up my game.
For my next design, I looked up windmills online, designed a template in Photoshop, and printed it out. Then I took an unused picture frame and grabbed the glass out of it. I put the glass over my template, and carefully “drew” with the 3D pen over that.
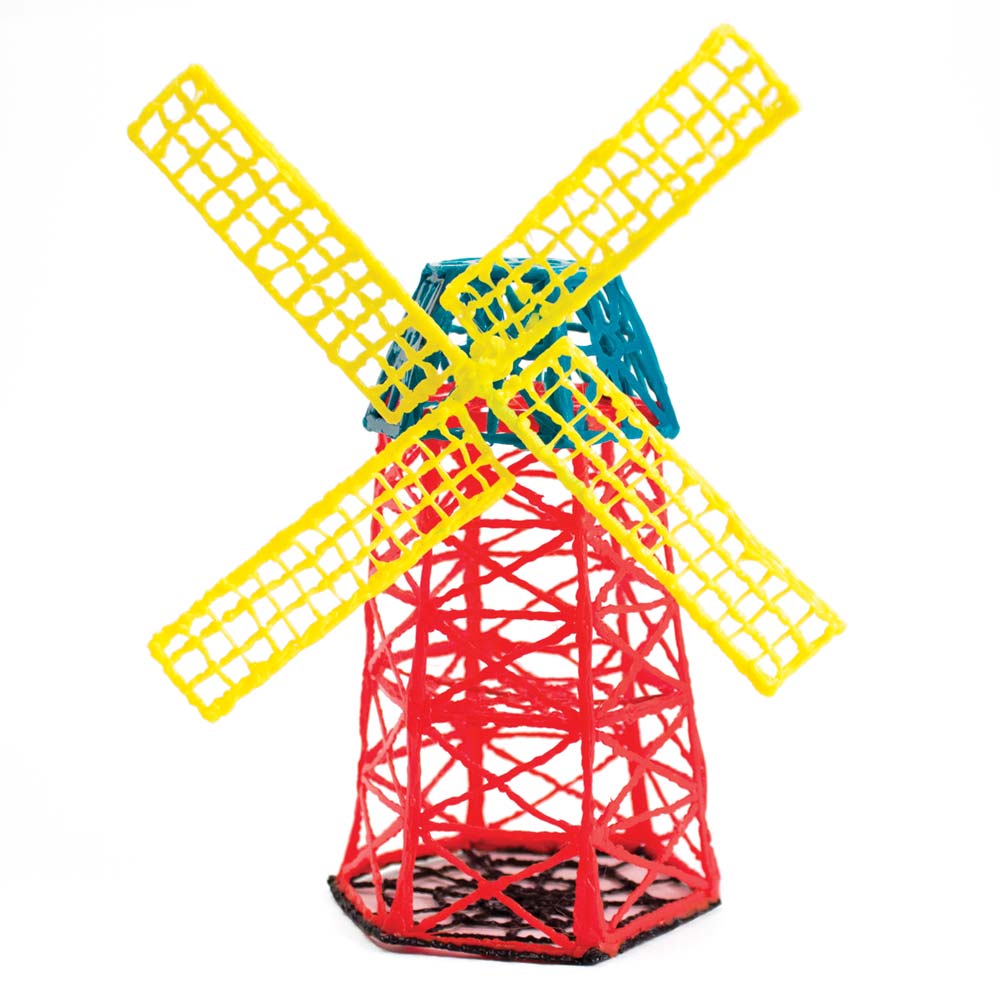
Once the pieces were cool (which happened quickly enough), I was able to pop them off the glass and stick them together as I’d done with the biplane.
Creating the windmill took longer because the design was more complicated, but it was worth it.
Yes, the yellow paddles spin. I’m absolutely thrilled with how the windmill came out.
My first video!
Once I had done that, it was time to make an instructional video for our website. I drew up a simple design for a cell phone holder inspired by the work of Keith Haring, a favorite of mine from art school.
Voila!
Now I’m the resident expert on our 3D pens, and I’m the one customers talk to if they have any questions. It’s my absolute favorite among all the products we carry.
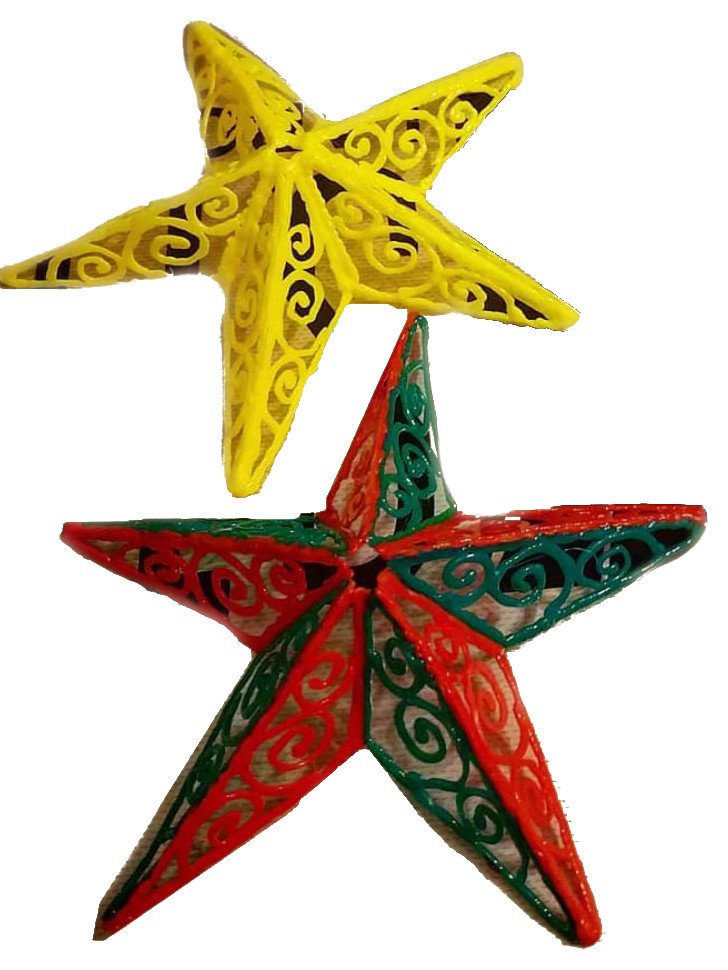
I’ve picked up the 16-color filament pack so I can keep creating. Most recently I created these cheery star ornaments for the holidays.
What will you do with your 3D Pen?
The possibilities for using a 3D Pen in the science classroom are endless. Students could make models of the different bridge designs and test their strength. They could make model atoms, rockets, solar systems… almost anything!
No matter what students might design, they are gaining experience in construction and problem solving—not to mention the “E,” “A,” and “M” in STEAM: engineering, art, and math.
Have you used the 3D pen in your classroom? We would love to see what your students have created! Please share your comments below.


This entry was posted on Friday, March 13th, 2020 at 12:49 am and is filed under construction, Elementary level, engineering, High School level, Middle School level, STEM. You can follow any responses to this entry through the RSS 2.0 feed. You can leave a response, or trackback from your own site.
