 by: Michelle Bertke and Melanie Bunda
Bubbles are always a fun and interesting activity for kids of all ages. However, bubbles are not only fun, they are also an excellent teaching tool for some abstract concepts such as air density, dissolved gasses, and air pressure. Below is a collection of bubbly activities that highlight each of these topics. Educational Innovations offers a full line of wonderful bubble products!
Gravity Defying Bubbles
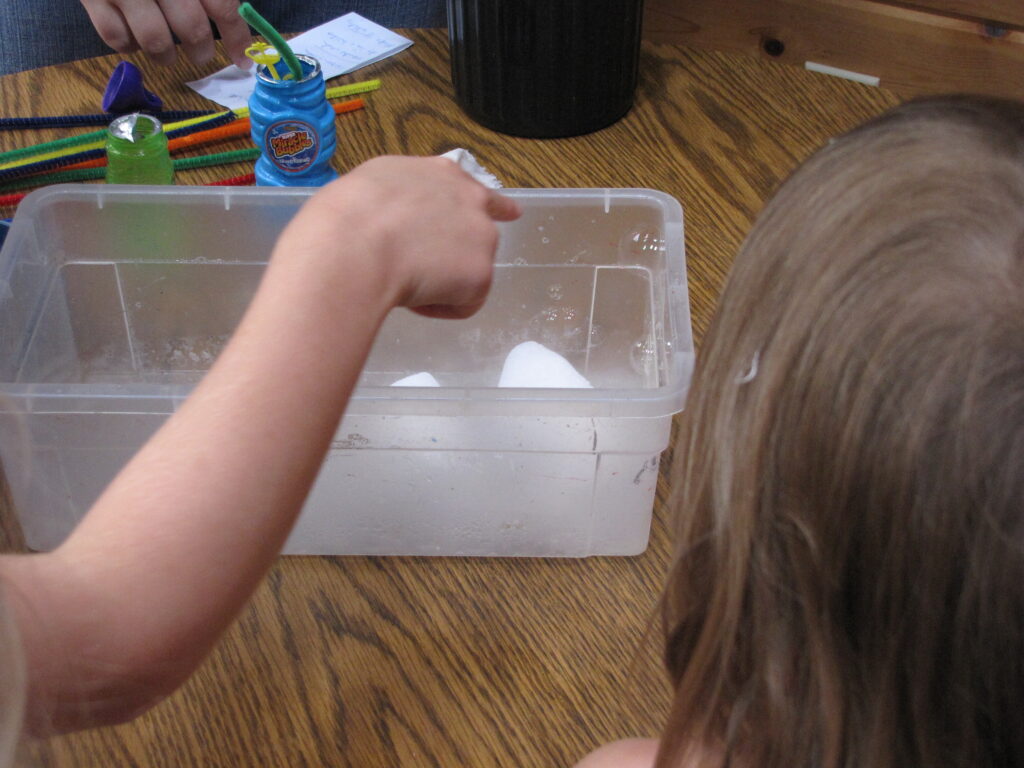
Different gasses have different densities. The air around us is mostly nitrogen (N2) and oxygen (O2), which are both lighter than carbon dioxide (CO2). When a heavy gas, such as CO2 is placed in a tank, it will sink to the bottom without mixing. This can be achieved by placing a few blocks of dry ice in a large fish tank or clear plastic bin covered loosely  with a lid and allowing them to sublime. This will take several minutes. Always use caution when handling dry ice by using proper gloves and safety goggles.
Once full, blow bubbles over the surface of the tank. When the bubbles reach the interface of the two gasses, they will float. If you fill the tank with CO2 unnoticed, have the kids speculate as to why they think the bubbles didn’t reach the bottom, and what might be in the tank.
An alternative is to fill a balloon with CO2 by filling it with baking soda (or an alka seltzer tablet) and placing it over the opening of a bottle filled with vinegar (or water). Lift the balloon so the contents spill into the bottle and react with the liquid, allow the balloon to fill from the reaction, twist and remove. Use it to blow bubbles. Compare these bubbles to those blown with regular air (use a fan, not your breath for best results). Have students compare the two bubbles. Which one falls faster? Which one floats longer? Read the rest of this entry »


 Posted by Tami O'Connor
  by: Tami O’Connor
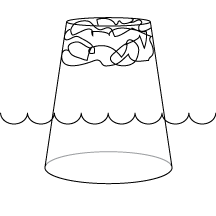
 push the plastic cup into a clear container of water so the cup is completely submerged. Your students should be able to see that, although the air is somewhat compressed within the cup, the paper at the “top” of the cup remains dry.