 by: Michelle Bertke
Sound can be a difficult concept to portray because the sound waves cannot be seen or touched. Luckily, there are several at home experiments that demonstrate the properties of sound waves.
Water tank to show ‘Sound Waves’
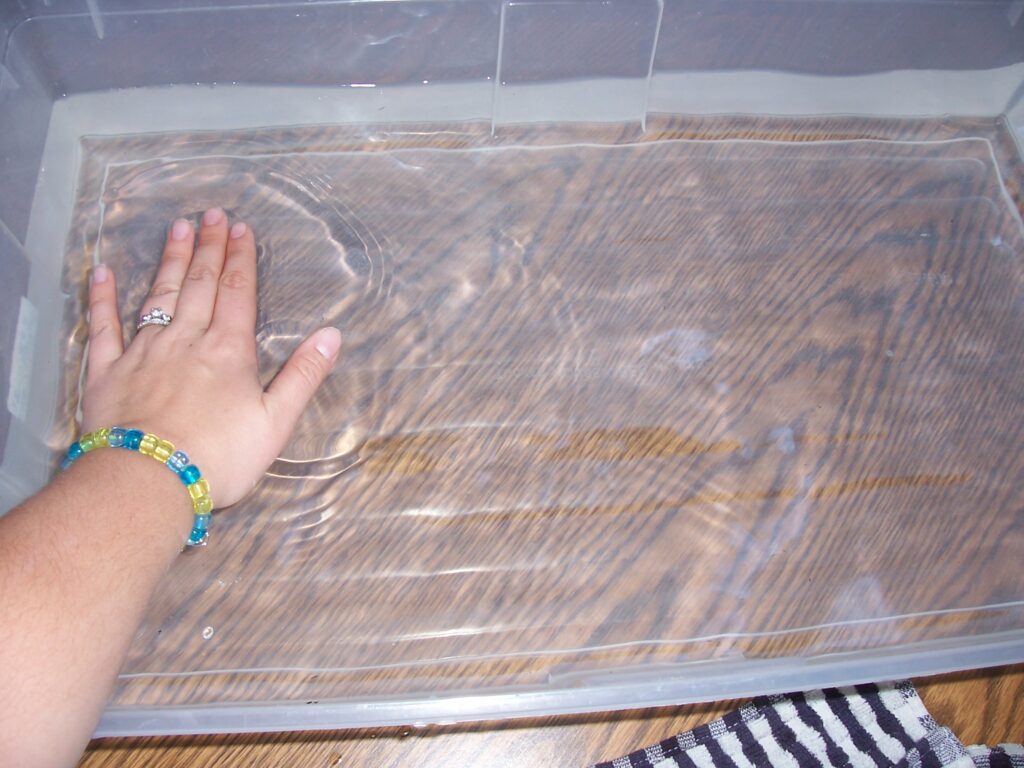
You can use a fish tank half filled with water to give a visual demonstration  of ‘sound waves’. Water is a perfect medium to show the propagation of waves. This demonstrates how sound waves travel though the air. There are two ways to display this activity. One way is to simply press your hands onto the top of the water and allow the waves to be made by the pressure of your hand. This allows students to see how waves travel though a medium. You can also use this to point out the aspects of a wave such as frequency and amplitude. Another way to show waves is to place a speaker next to the tank and allow the sound to produce the waves. This can show that sound is a form of pressure just like your hand.
Sound Tubes
 Sound tubes can demonstrate how your vocal cords produce sound. Spinning the sound tubes around in front of your body or over your head creates low or high pitched sounds depending upon how fast you spin them. The sound is produced by air moving over the grooves in the tube. This principle is the same as the air passing from your lungs, though your throat, and out through your mouth that creates the sounds other people hear.
Make your own record player
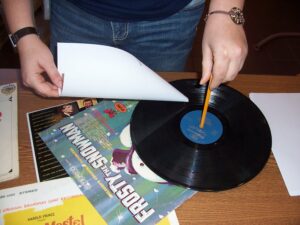
Another great example of how vibrations can create sound is the record player. Record players have diamond tipped needles that fit in the grove of a vinyl record. As the record spins and the needle passes through the grove, the cone shaped needle vibrates and the sound is amplified These vibrations are transmitted to your ear and relayed to your brain. Your brain translates them to sounds that you understand. Below is how to make your own record player:
1. Form a cone shape out of a simple white piece of paper. Tape the bottom.
2. Poke a straight pin about an inch from the bottom of the cone so that it crosses from one side of the cone to the other. Position the pin so that it pokes all the way through the cone but there is some protruding on either side.
 3. Insert a pencil through the hole in the record. Use the pencil point like a top to spin the record on a flat, smooth surface. The record must spin in the correct direction or you will hear the recording backwards!
4. Hold onto the top of the cone lightly with your thumb and forefinger. Gently rest the pin on the record while you are spinning so that the pin runs along a groove in the record.
It may take some practice to get the spinning just right. Remember, record players are set to spin at a particular speed so that the recording is heard correctly. Play around with the speed. How does it sound when you speed it up? Slow it down? Additionally, the pin should be lightly resting on the record. If the pressure is too hard, you will just hear scratching. If the pressure is too light, you will have a hard time hearing the recording. (only use records that you don’t mind ruining) This activity may take some time to get perfect but trust me, it works great!