 by: Linda Dunnavant
A Density Experiment
Do you have to teach density as part of your curriculum? If so, look no further than this “floating” golf ball lab! Your students will be engaged and hopefully even amazed at how density affects the world around them.
This lab can be adapted to pretty much any age group of students, but I have found that it is especially well-suited for middle school students. I have even modified this to do with my four-year-old at home!
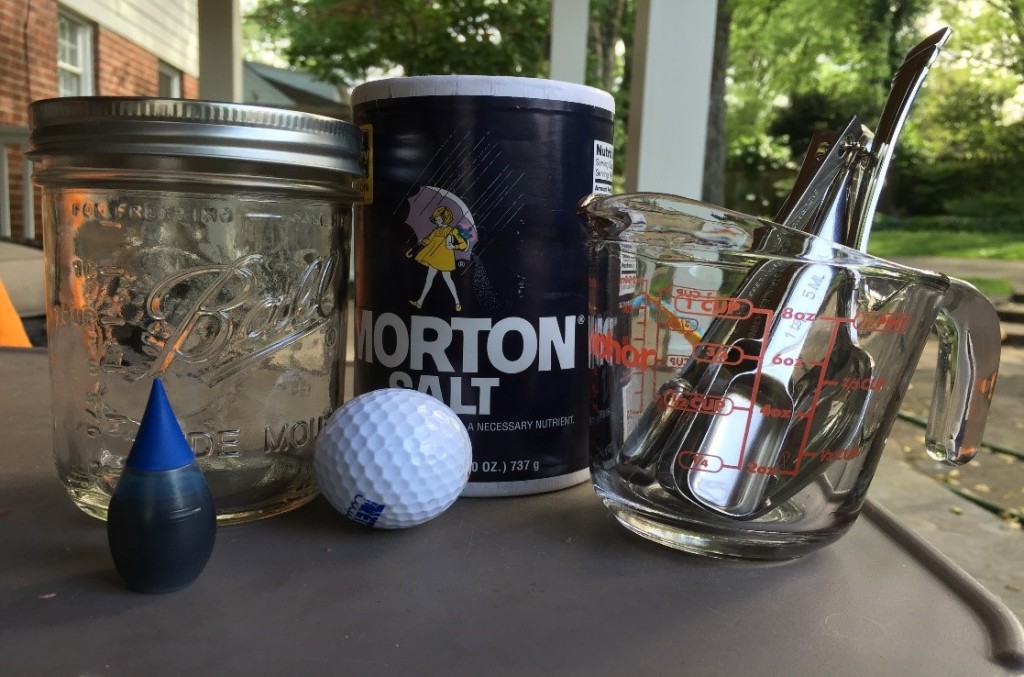 Materials:
- jars with lids
- golf balls
- measuring cups
- spoons
- salt
- paper towels
- water
Steps:
1. Put students in groups of 2-3.
2. Ask students to hypothesize whether they think a golf ball will float or sink when placed in a jar of regular tap water.
3. Pass out a jar to each group. Students should fill the jars with one cup of water—but keep in mind that you can use whatever amount of water works best in the jars you are using. Have them add two drops of food coloring to the water.
4. They then should place their golf balls in the cups to see if their hypothesis was correct. Did the golf ball sink or float?
5. They can fish out the golf balls with spoons and dry them on a paper towel.
6. Ask students to hypothesize WHY they think the golf ball sank. Discuss the concept of density (how closely the particles of a substance are packed together). Explain that a golf ball sinks in water because the golf ball is denser than water.
7. Have students hypothesize how to increase the density of water. Pass out cups of salt and new jars to each group. Students should fill jar #2 with water as they did for jar #1. Let students hypothesize how many tablespoons of salt they think they need to add to the water in order to make the golf ball float.
 8. Students should add a tablespoon of salt to one cup of water in the jar. Then they can put the lid on the jar and shake until the salt is dissolved into the water. Students should add the golf ball to the jar to see if it floats or sinks. If the golf ball doesn’t float, students should continue adding and dissolving tablespoons of salt to the jar, one at the time, until it does.
9. Have students discuss why the golf ball floated. Explain how salt increased the density of the water because it increases how tightly packed the particles in the water are.
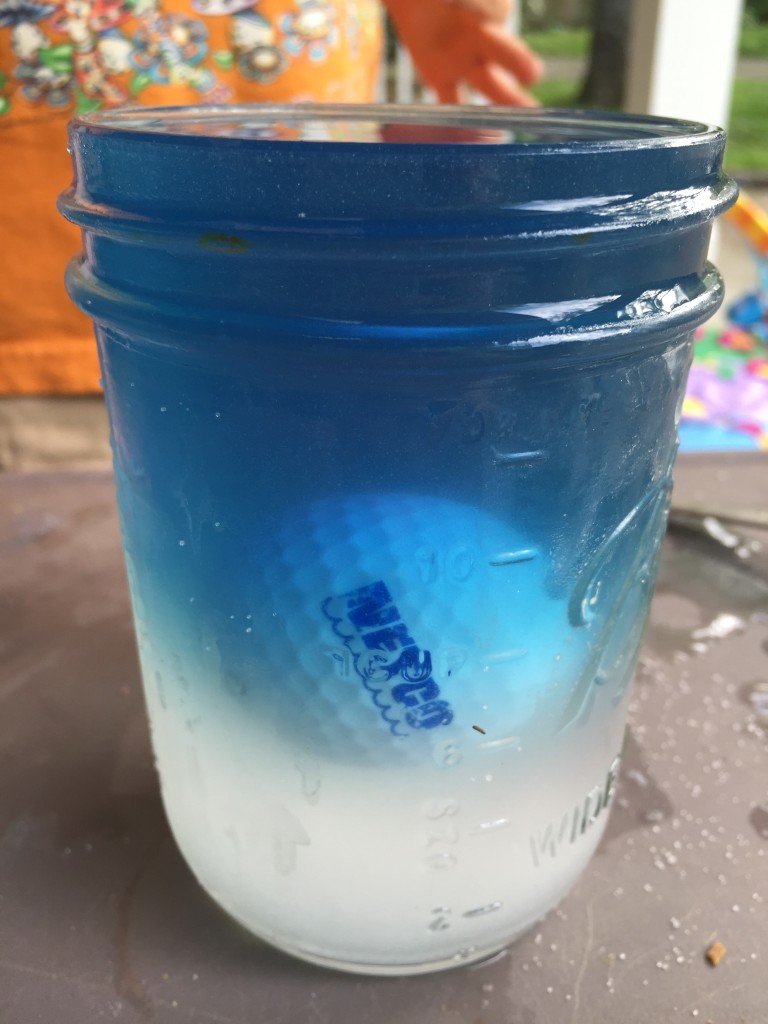 10. Now for the fun part! Have students (very) slowly pour their colored fresh water (from jar #1) on top of the salt water with the golf ball in it. If students pour the water in slowly and carefully, they should see the golf ball becomes suspended in the middle of the jar. It “flinks” (or is it “sloats”?) because the golf ball is denser than the fresh water on top, and is less dense than the salt water on bottom.
11. Extensions: Ask students if they think size is related to whether or not a golf ball floats. In other words, would a larger golf ball be more likely to float, sink, or neither?. Discuss how the size of an object doesn’t necessarily affect an object’s density. (Styrofoam boat docks are a great example!) Students can also bring in materials to test whether or not they will sink or float. Additionally, students can calculate the density of the golf ball using the density = mass/volume algorithm.
12. Encourage students to go home and amaze their friends and family with their new “magic” (or rather, science) trick!
Linda Dunnavant is a middle school teacher whose blog, “Tales of a Fifth Grade Teacher,” can be accessed here.
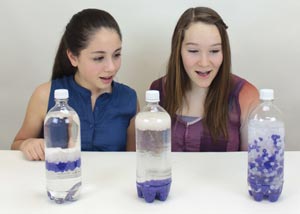
For other blogs on exciting density experiments for all ages, please see our Poly Density Bottle blog and our Who Knew They Could Be So Dense? blog.
Great activity. I have used it with students from grades 5-12. I like to use empty tennis ball canisters, water softening salt (cheaper in quantity and no additives) and yellow golf balls (yellow and blue make green). A classic activity on density.
Great lab idea, thanks for sharing!